Hey got a thought for you. Is it based on rock solid, irrefutable, undeniable scientific information? Hell no. It is based only on observation and experience. But if you’re still willing to listen, read on.
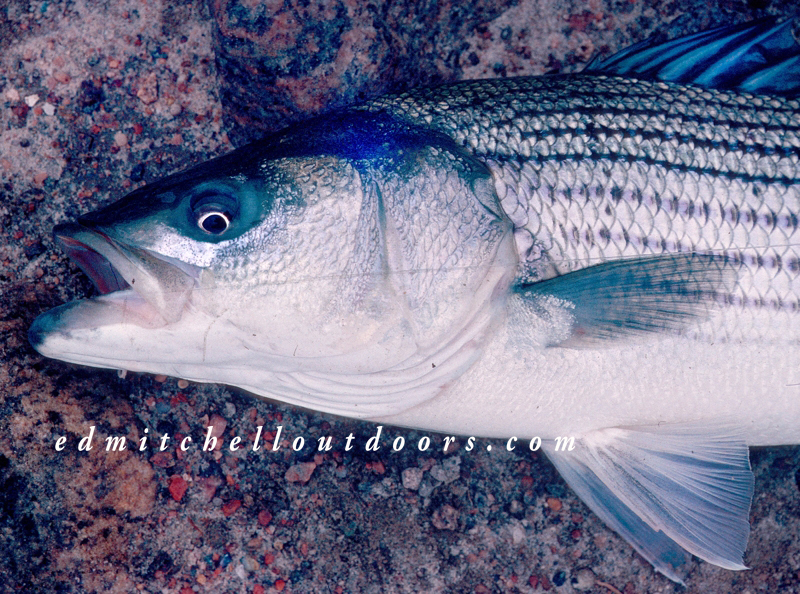
I hope I’m wrong about this, but it appears the spring migration of striped bass has shifted eastward. Why do I feel that way? First off, the spring striper season here in Long Island Sound was way off. Typically there would be tons of schoolies in the lower Connecticut River. Didn’t happen, my friend. Second, the striper fishing in the Sound was poor last year as well. Even though the bait was so thick you could walk on it. And the fall was terrible.

Going to stick with me? Okay, here we go. A few weeks back something highly unusual took place. Schools of striped bass attacked the Rhode Island beaches. Likely the 2015 and 2016 year classes. Sure bass do hit Rhode Island in the spring, but this scene wasn’t typical at all. Were these the spring bass the Sound was missing? Maybe.
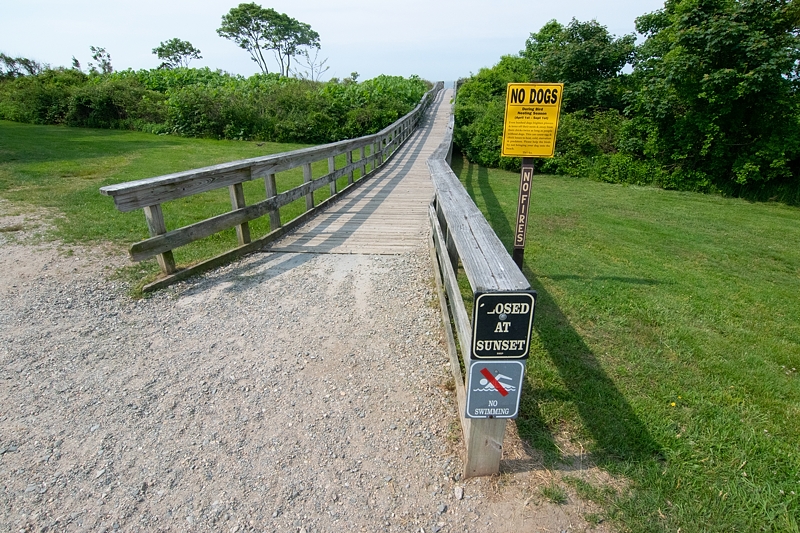
Did I get there? No, this took place during a period the Rhode Island troopers were patrolling the beach roads kicking out out-of-state plates because of the pandemic. Damn.
Okay allow me to backup a bit. Stripers migrate for only three reasons. To spawn. To find food. And to avoid environmental problems, most notably changes in water temperature. Now in the spring migration, the spawn is over, at least for the smaller bass. We can eliminate that. Long Island Sound has gobs of bait. We can eliminate that. That leaves us with environmental condition. Well as you know, in the Sound the trend is hotter, and hotter. Let me give you some facts. The average surface water temperature across the season in Niantic Bay was roughly 50 in the mid 1970’s. By the eighties the temperature was running closer to 52 degrees. By the late 1990’s temperatures were often running 54. In 2012 it hit 57 degrees. More recently it has been around 54. So if stripers are shifting eastward and northward, temperature is apt to be the reason. And a shift in the spring would likely produce a change in the Autumn migration as well. Which would help explain the poor fall bite in the Sound.
Shifting migration routes have happened before. Back around 1990, the striper spring migration shifted eastward and northward, most notably toward Martha’s Vineyard, producing legendary bites in places such as Lobsterville. Where such action hadn’t taken place in memory. It was the best fishing of my life, bar none. This bonanza lasted roughly ten years and then faded away. It wasn’t temperature that time, it was food. Huge schools of sand eels and juvenile sea herring brought on the hungry bass. The sand eels were so thick, they blacken the first fifty feet out from the beach and ran literally for miles, and miles down the shore.
Consider this too. Tagging data research done many years ago showed that striped bass migration routes were affected by environmental conditions. Typically striped bass coming down the coast in October would venture as far west as the mouth of the Connecticut River before turning southward to exit around Montauk. (These are Chesapeake bass) But if winter came on quickly the bass preferred to head directly from Cape Cod and Rhode Island to Montauk, bypassing Long Island Sound. It was all about survival.
Time will tell if I’m right. Keep your eyes on the water. And keep you eye on other species like bluefish. Like all fish they’re sensitive to water temperature too.
UPDATE 5/30 Some decent schoolies and a few big bass have arrived in the lower Connecticut River courtesy of the moon! So they’re about a month late. Along with them are some bluefish.