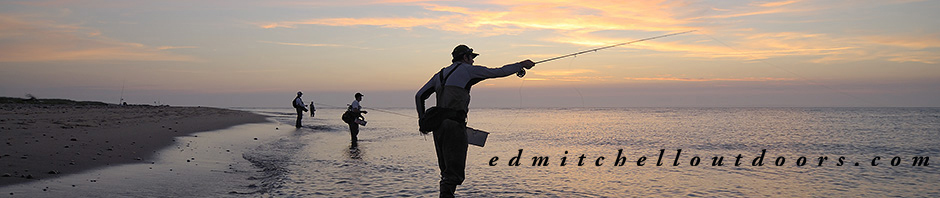
Fishing Cape Cod right now. Loving it. Plenty of schoolies, with a few bigger bass mixed in. Enjoying the hell out of it!
Fishing Cape Cod right now. Loving it. Plenty of schoolies, with a few bigger bass mixed in. Enjoying the hell out of it!
 Okay I’m pulling you leg amigo, but one positive effect of this God awful, sinking pandemic is this: I spent oodles of time behind the vise. Hours and hours. Snipping, cutting, stacking, gluing, clear coating, whip finishing. Tying, tying, tying.
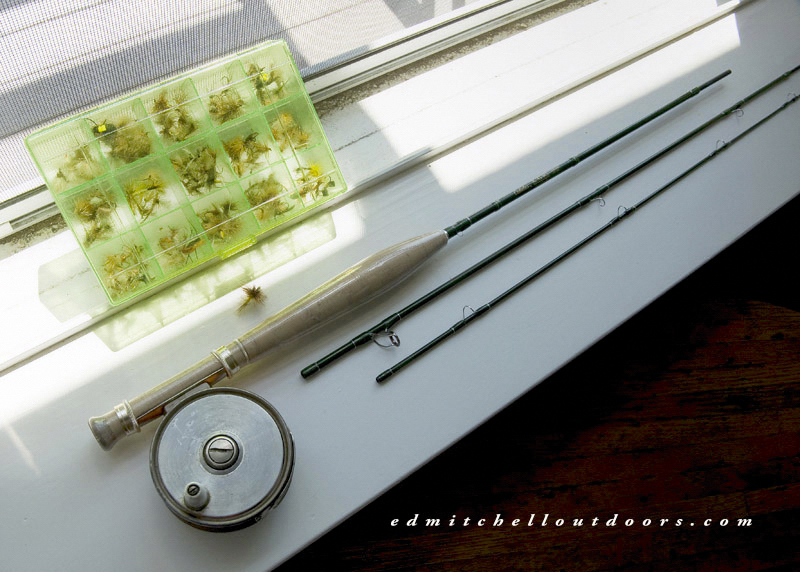
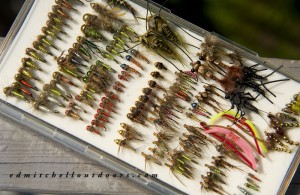
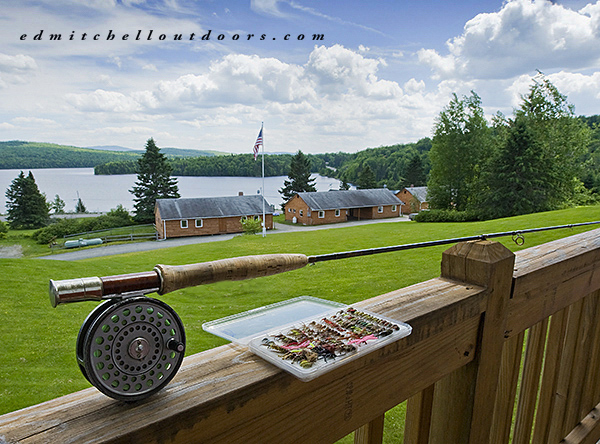
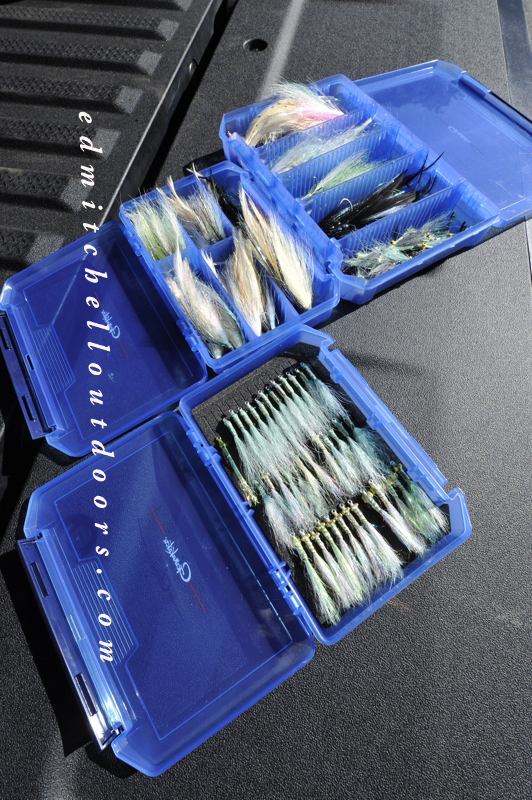
Dozens of flies got cranked out. Man oh man. Check out the photos, and this isn’t all of them. There are more.
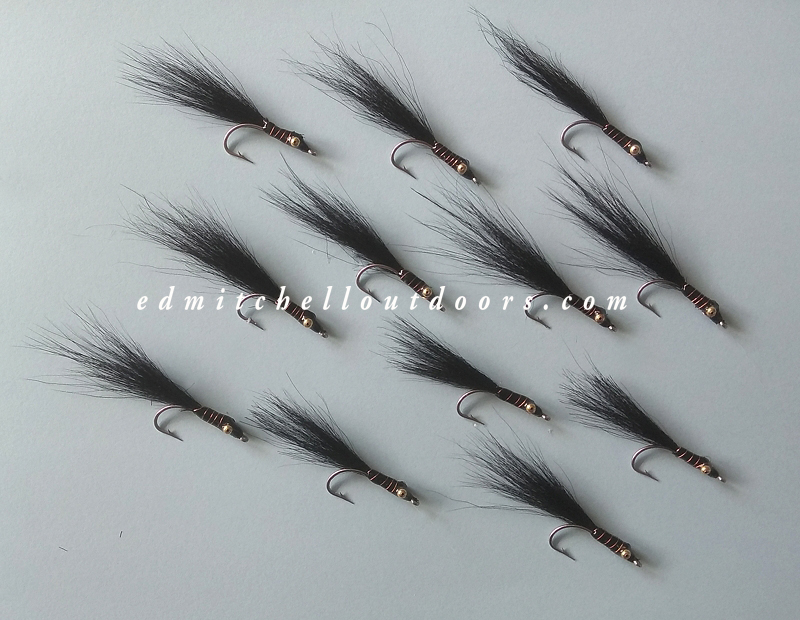
My focus was often on sand eel flies as you have seen in recent posts. They are very important at this time of year. Got to have them. They are in the bottom box of the adjacent photo. I made small one, typically in the 2″ size. Some are a tad longer. This allows me to trim them down to match the bait on a particular shoreline. These are YOY imitations. And I tied them both in green-over-white for use during the day and in black for night work. Some are unweighted and some weighted.
Along with the small sand eel flies, I also made a run of larger sand eels flies. Little tough to see but they are in the center row of the photo below. You occasionally find these bigger sand eels along beaches exposed to the open Atlantic. These babes can be 6 inches long, although the flies I tied are closer to 5″. Good enough, I think.
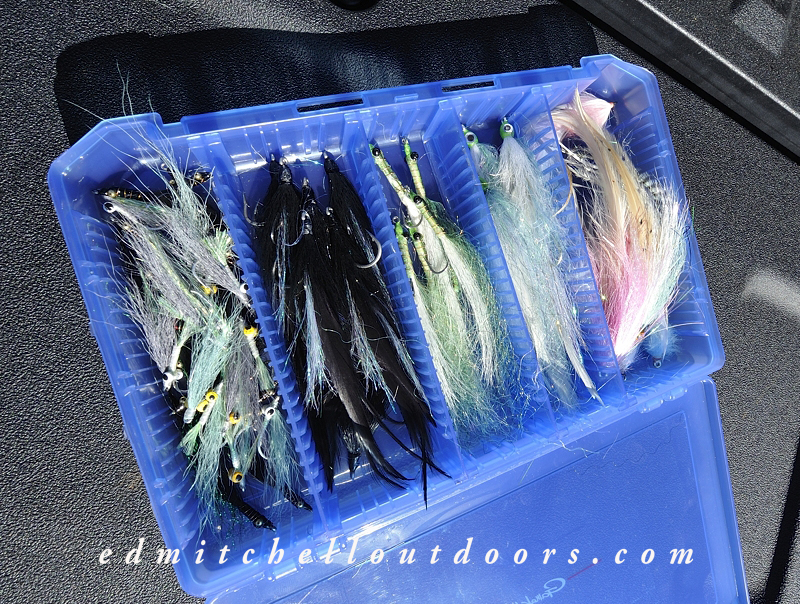
Naturally I whipped up some Deceivers and Clousers too. Meat and potatoes. Both of them got tied in a variety of sizes and colors. The smallest green Clousers actually double up as sand eels patterns. My Deceivers are from 4″ to almost double that length. Juvenile sea herring are fairly common right now on Atlantic facing beaches and the smaller Deceivers are a decent imitation. They have worked well in the past. The bigger Deceivers are excellent searching patterns, and make a passable squid imitation. You can see a few in the right hand row of the photo above. Need those babes too.

So is this flurry of intense tying going to pay off? You bet your backside. Why? Because I’m heading to Cape Cod at week’s end. Man, been looking forward to seeing the Cape again since I moved back from Florida. With any luck at all I should run into plenty of striped bass. And perhaps even some big boys. The kind that can air out your backing. That would be the icing on the cake.
I’m not a commercial tier, or an exhibition tier. But I’ve been behind the vise for 40 years and have some thoughts for folks just getting their feet wet at the game.
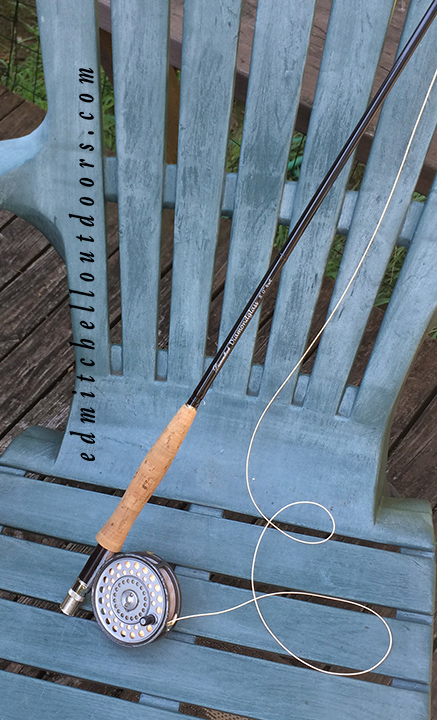
One Sand Eel Fly
Realize it is rarely a good idea to sit down at the vise to tie one lone fly. If you need a particular fly, face it, you likely could use a few of them in your box. Now you might say to me tying more than one takes time. Yup, but tying in bulk saves time in the long run, a monster amount of time. Moreover tying in bulk forces you to learn a pattern in depth. Your flies become more consistent. And what you learn helps you next time you tie that pattern. And last but not least, tying in bulk means your fly boxes are full and better prepared for a day on the water.
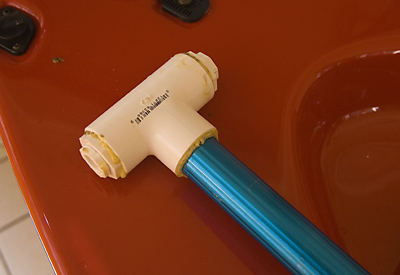
Tying a Dozen Black Sand Eel Flies
The first step is to collect the specific materials required to tie the pattern. Then lay out the materials in the order you going to use them. Hook and thread first and so on down to head cement. Next prepare the materials. Count out the number of hooks you’ll need. Make a pile. Need hackles of a certain size? Pull them out and make another pile. Need floss or chenille? Cut pieces to length and make a pile. Get the idea? You’re preparing a production line.

Tying in Stages
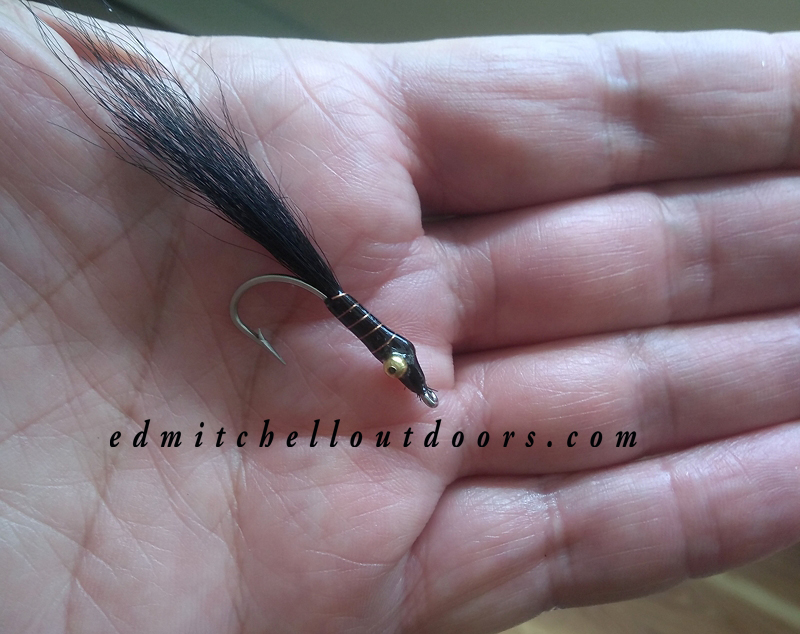
Okay, put a hook in the vise. But, do not complete one fly at a time. Make the fly in stages. As you see with these sand eel flies, I did a couple of quick steps and then moved on until I had a dozen ready for completion. Then I came back and finished each fly. (You can see the completed fly in the photo at the top of the post.) ( More on how to tie this pattern.) Tying in stages is a great time saver and improves the quality of your work. Trust me. Hope all this helps you. If want to get serious about production tying, pick up A.K. Best’s Production Fly Tying. His last name says it all.
Its the rainy season along the Florida Gulf Coast, but it has been wetter than usual from what I hear and more rain coming. Typically the rain starts around 2:30 pm and tapers off by 5pm. But right now the rain can be all day long. Soggy times.

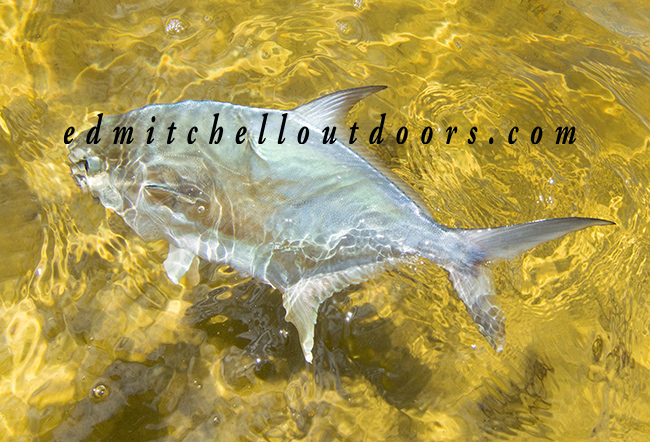
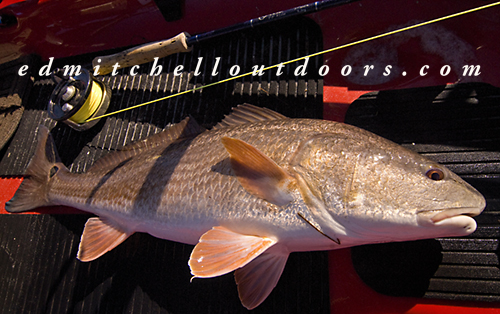
Tailing Reds in the Twilight
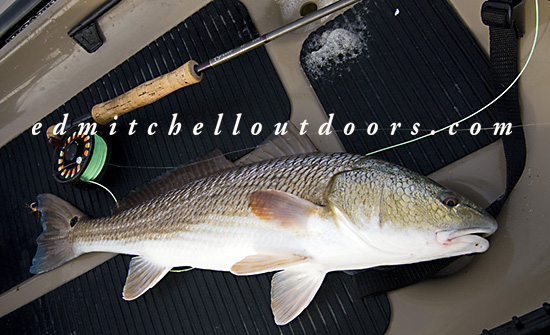
That hasn’t stopped Dave from looking for “tailing” reds. Yeah he has been on the water between the raindrops. As you can see he is working the twilight shift and its paying off. When warm weather settles in on this coast, rain can actually improve the fishing by lowering the water temperature. Its only a small change but its enough to pick up the fishing. Go Dave!
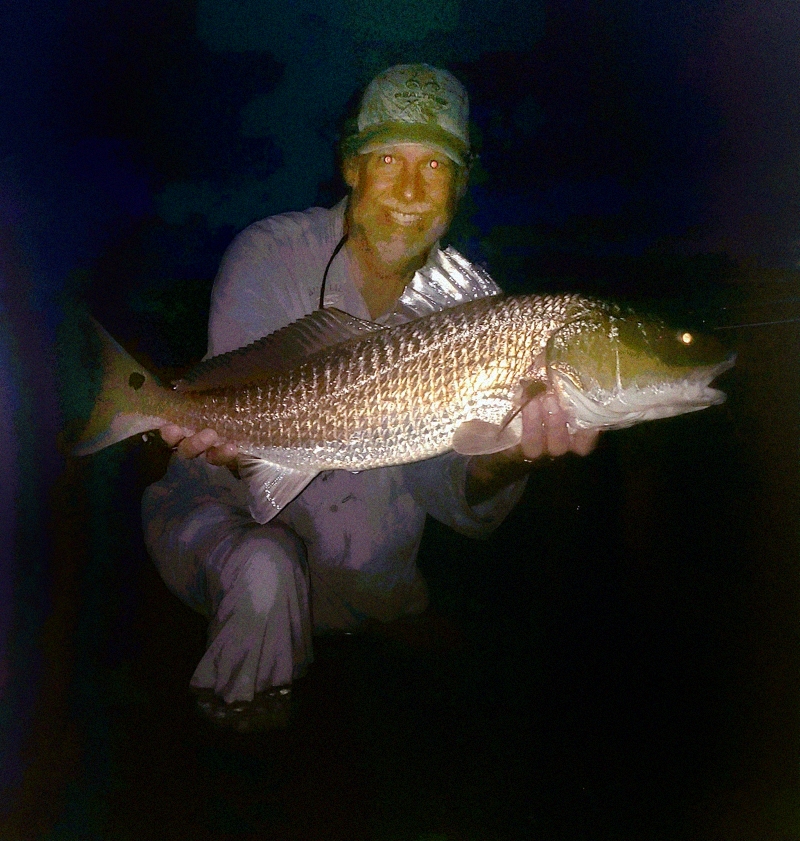
Notice how different these two fish are? The bottom red has been living in stained water likely back in the mangroves. The top fish has been living in clear water over sandy bottoms. Yup, reds can quickly change color to suit their habitat.
Well this is great news . The Massachusetts Division of Marine Fisheries has closed the canal to commercial striper fishing. The canal had become a killing ground. Tip of the hat to the Marine Division for recognizing the problem and taking action.