Yes, progress on this project has been slow. You can blame the awful weather for that. It rained all but 3 days in July and the total accumulation makes this the second or third rainiest July on record. Get you some of that craziness.
In the previous post , my son cut away the old damaged transom. This time he and I began building a replacement. This is the only structural step in the entire rescue and likely the toughest and most complicated part too. After this, things should, at least in theory, move forward much faster. Time will tell.
The first step in creating a new transom is to fashion a temporary outside wall. You might think of it as a dam to hold the new layers of fiberglass cloth in place. The “dam” was cut from PVC and painted with a “release” coating to which the fiberglass resin would not stick. And then the dam was clamped to the rear of the boat.
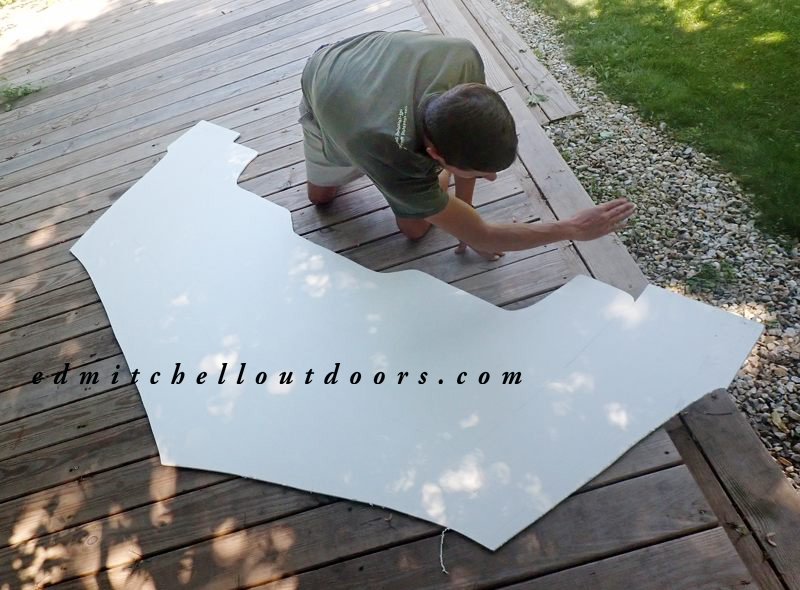
Making the PVC Dam
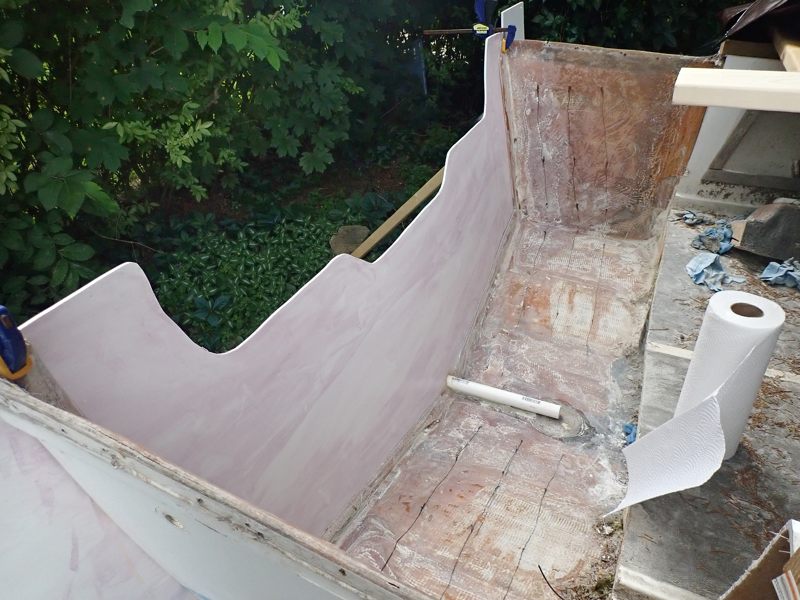
The Dam clamped to the hull and a new drain put in place
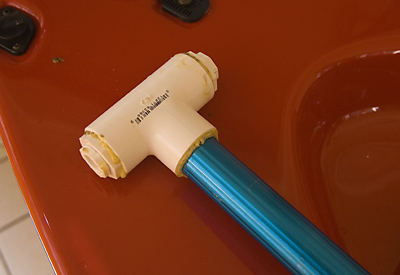
Next the seams between the dam and the existing hull were sealed with a thick mixture of epoxy resin and chopped fiberglass. And at the same time a new hull drain of 1″ PVC tubing was put in place. While all this was drying. Three pieces of heavy duty fiberglass cloth were cut. Each one is slightly longer then the previous piece. If look in the photograph above you will see three marker lines indicating where each layer will end. The idea is to form a strong tapered edge.
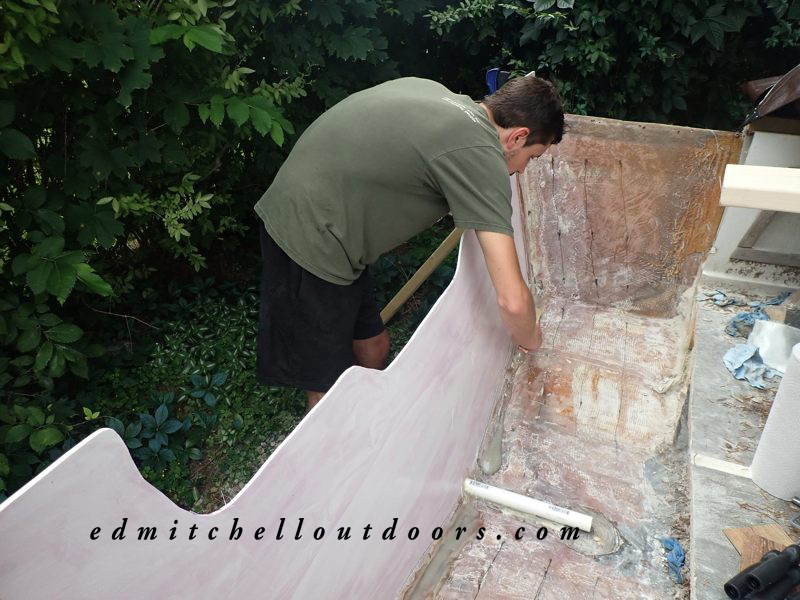
Heavy epoxy resin mixed with chopped glass to fill the seams
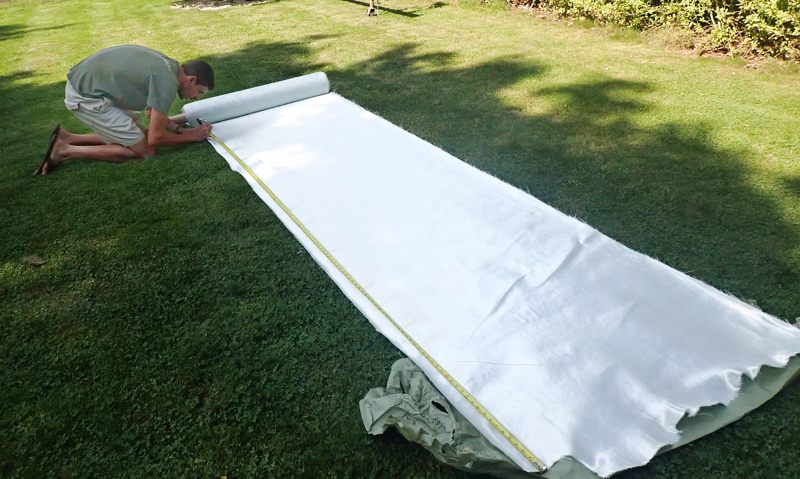
Roll of heavy duty fiberglass cloth
Then the first cloth layer was draped in place and soaked in epoxy resin, being careful to rub the resin in uniformly so no air pockets formed. Quickly a second layer of cloth was added with resin and eventually a third layer. All of this had to be done before the resin set up. Messy work. Not easy for two guys who have never done it before.

Checking to see if the cloth pieces properly fit
The following day my son removed the dam. Bingo the exterior of the new transom was there to behold. Looking pretty good. Sure it needs some cosmetic work, but that’s no problem.
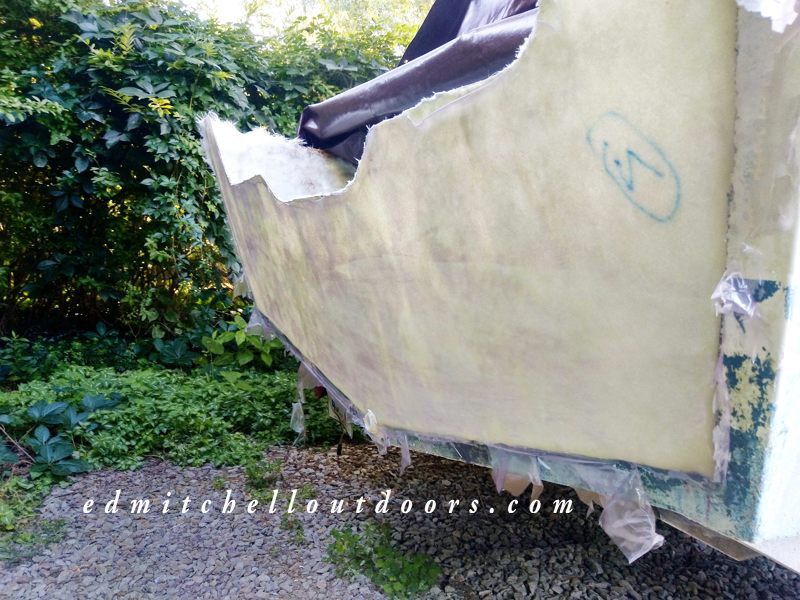
With the dam removed the exterior of the new transom is revealed
We’re still only halfway done with the transom. Traditionally most transoms had a plywood core. In fact the original was 1.25″ of plywood. Instead, my son will use a 1.5″ thick piece of Coosa board, which is lighter and stronger than plywood and will never rot. The Coosa goes inside up against the first three layers of glass cloth, and then three additional layers of fiberglass cloth and resin are added over the board. In essence the Coosa core ends up sandwiched between six layer of fiberglass cloth. Should be rigid.




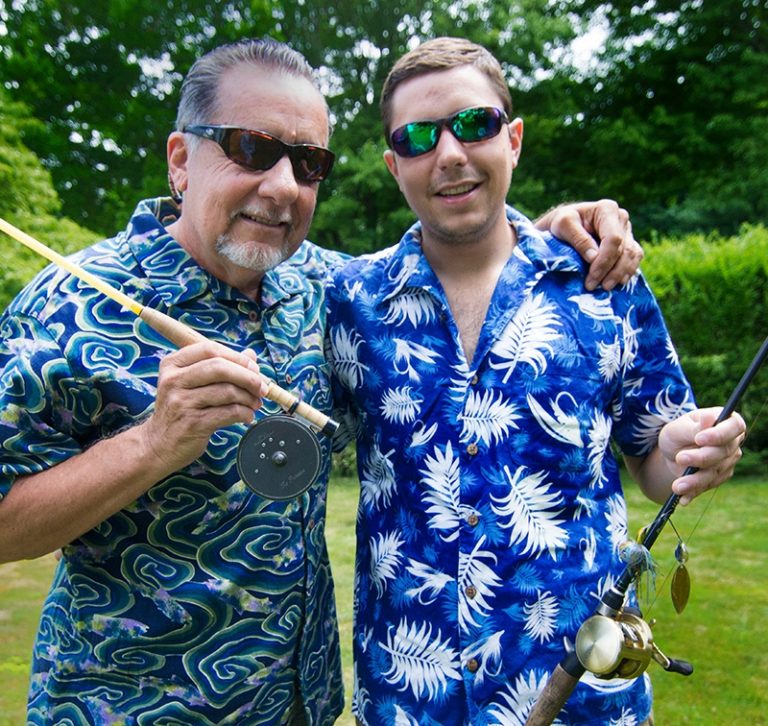




This had to be a difficult project. Working such a large area without having to redo sections due to air pockets and wrinkles takes very careful work and patience. Kudos to this son and father team!!
Thanks! Believe me there were moments of doubt, but we pushed on and got it done.