Been behind the computer big time. I fished so hard this year, I did very little writing. In the last two weeks or so, however, things have changed. Wrote and sold one piece, and have a couple more underway. So if I haven’t answered your e-mail or phone calls, that’s why. I’m holed up staring at a screen. Nothing personal.


-

Current Moon Phase

Waning Crescent Moon The moon is currently in Libra The moon is 26 days old -
Recent Posts
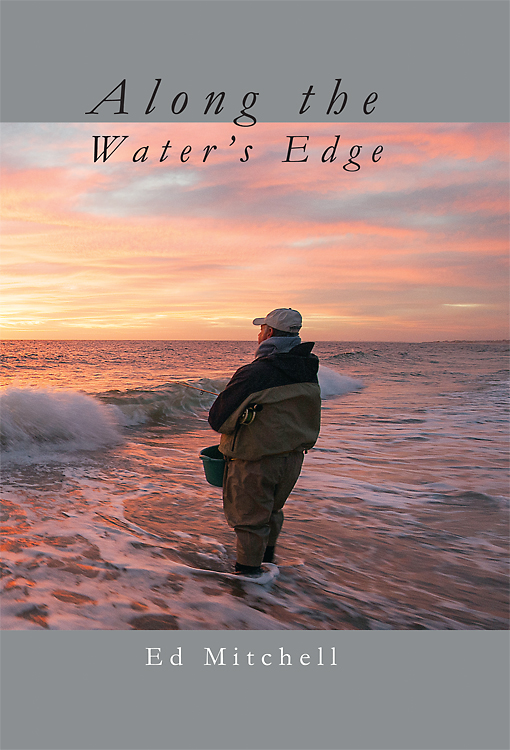
Along the Water's Edge
Categories
- Angling Books
- Artwork
- Bonefishing
- Diablo Adios & Chupacabra
- Environment
- Fiberglass Fly Rods
- Firewater
- Flies and Fly Tying
- Fly Fishing in Freshwater
- Fly Fishing in Salt Water
- Fly Fishing on a Boat
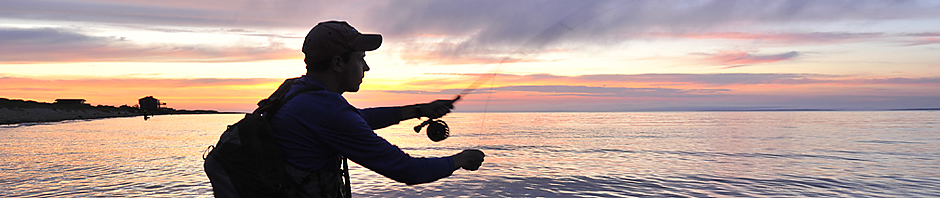
- Fly Fishing On the Beach
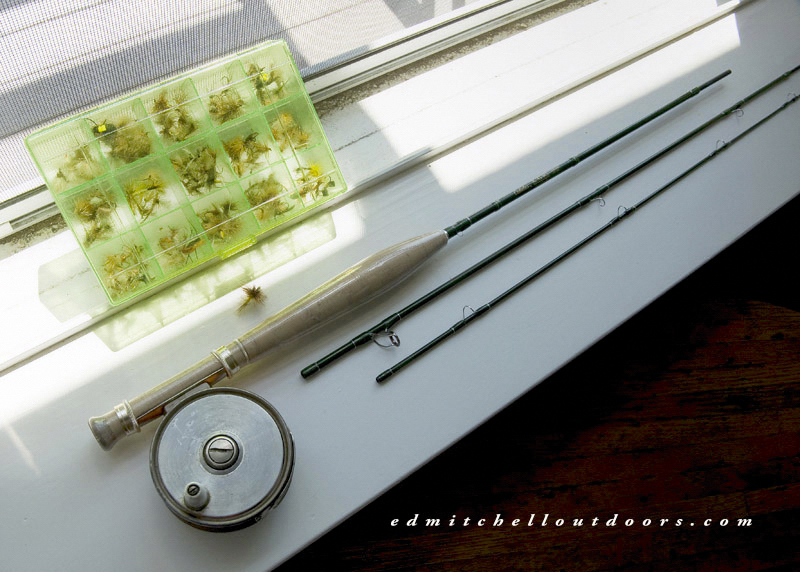
- Fly Reels
- Fly Rods
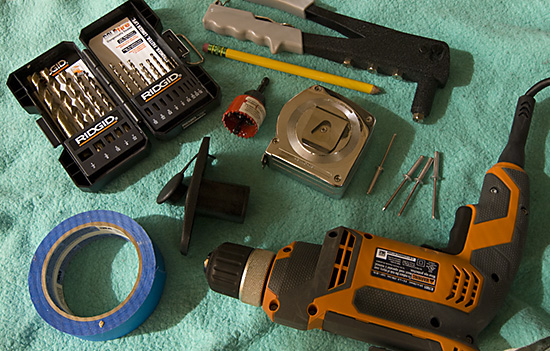
- Gear
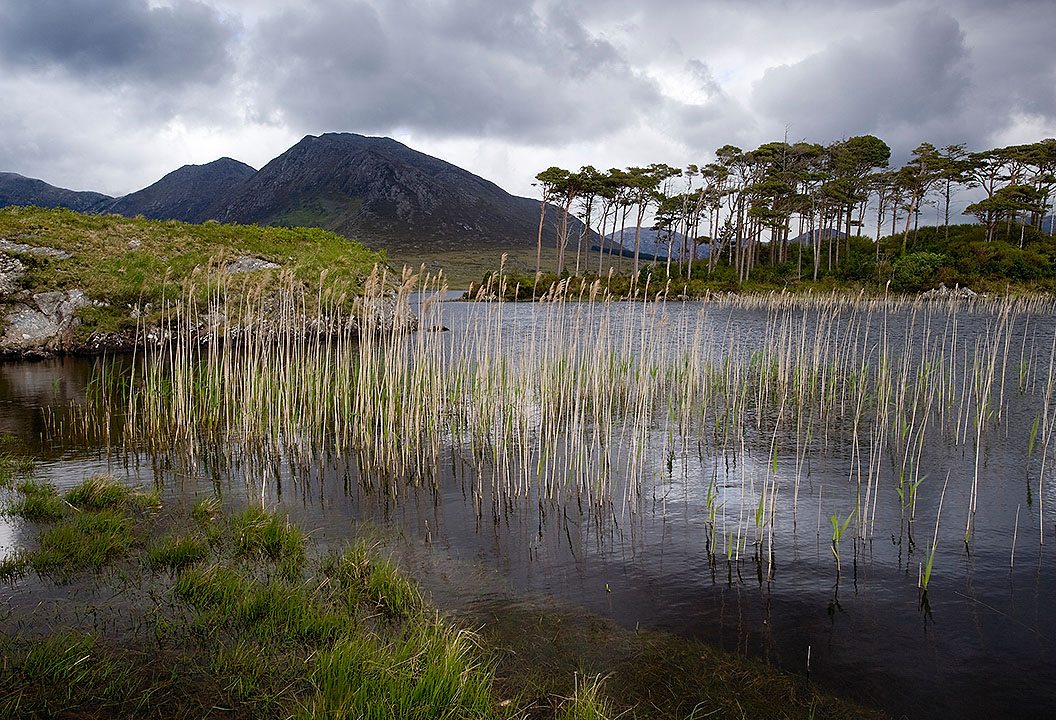
- Ireland
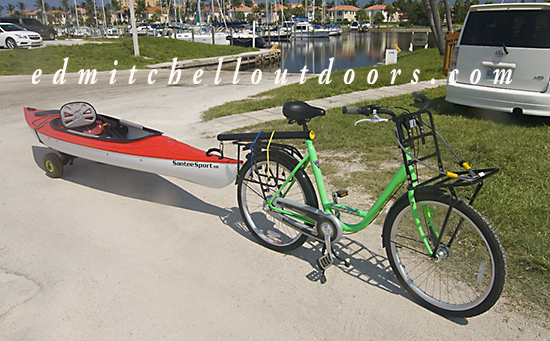
- Kayak / SUP Fishing
- Looking Downward
- Looking Upward
- On the Road
- Outdoor Writing
- Photography
- Shooting Sports
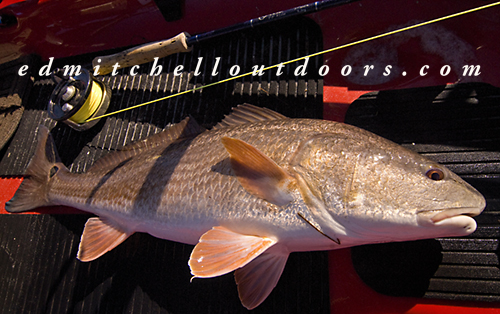
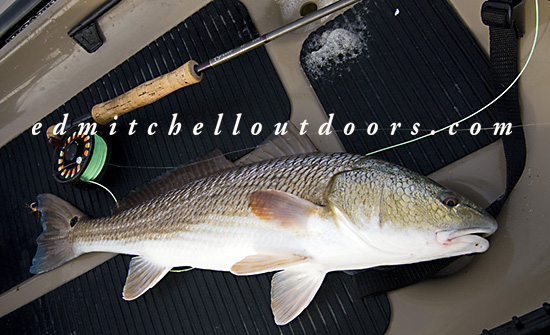
- Tailing Redfish
- Uncategorized
- Wild Things
Archives
6WT Fly Rod Red
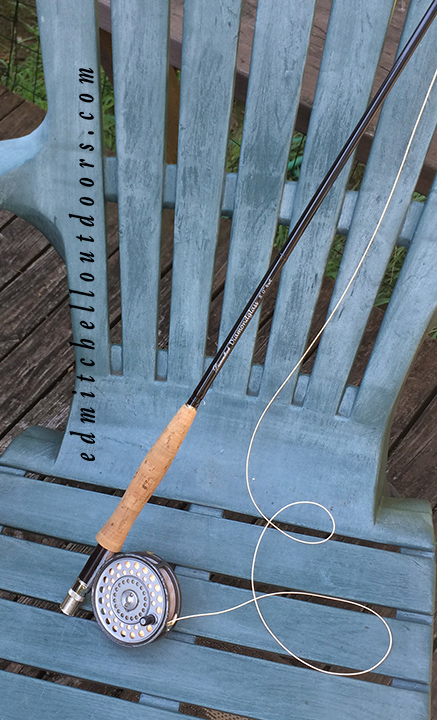
Fiberglass Fly Rod
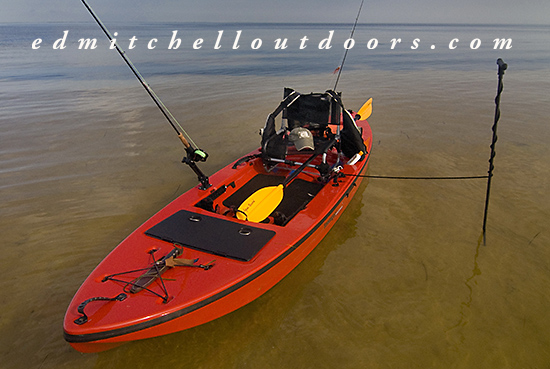
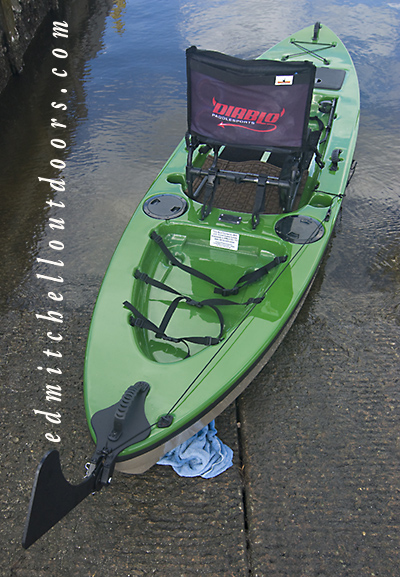
My Trusty Adios SOT-SUP

Striper in the Surf
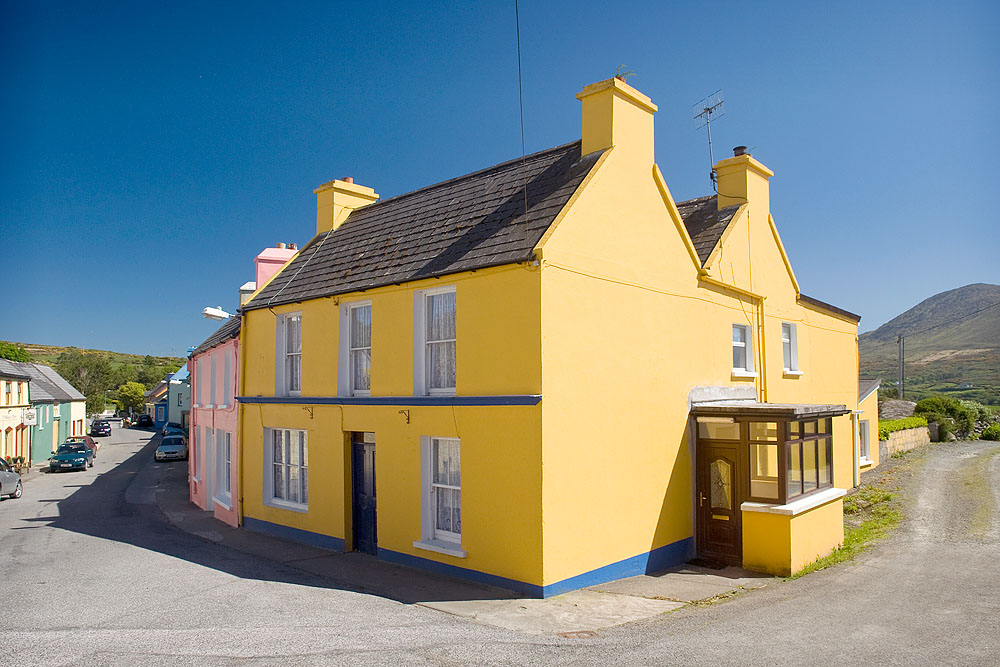
Yellow House Eyeries Ireland

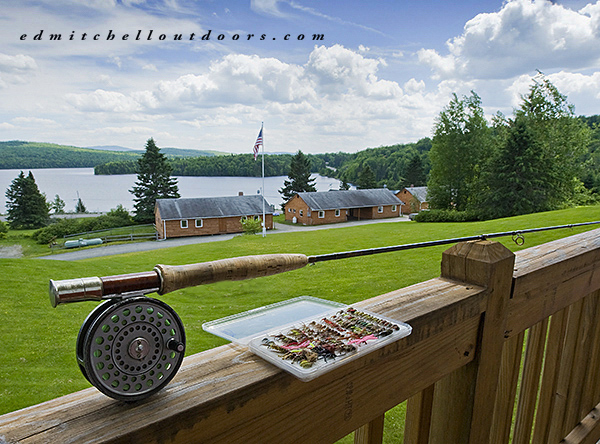
Little Averill Pond
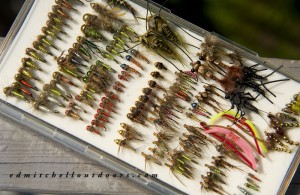
Bead Head Caddis Pupae
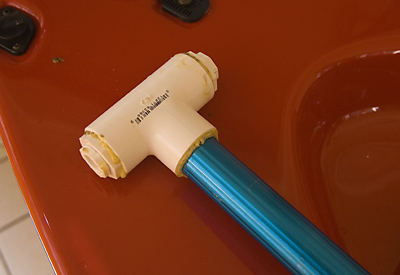
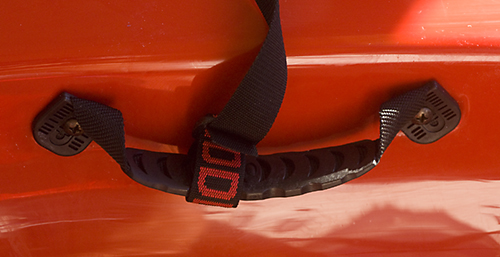
DIY Kayak Push Pole

Dean's Blue Hole
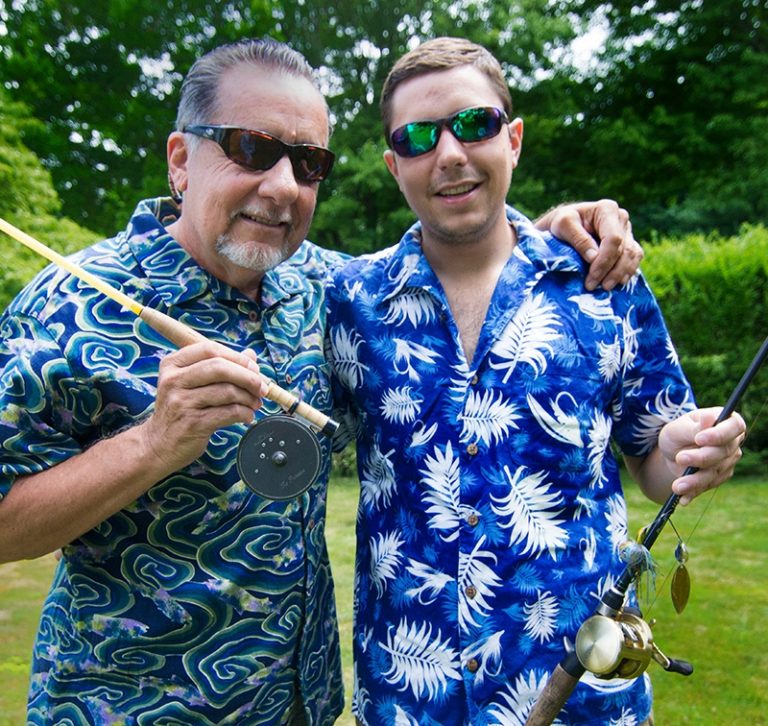
Father and Son Anglers

God's County
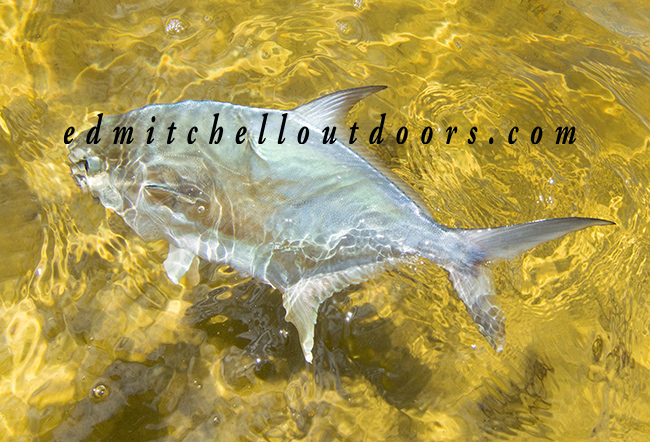
Pompano on a Fly

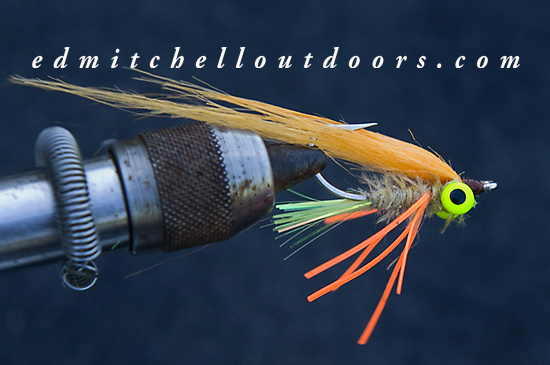
Crab Fly
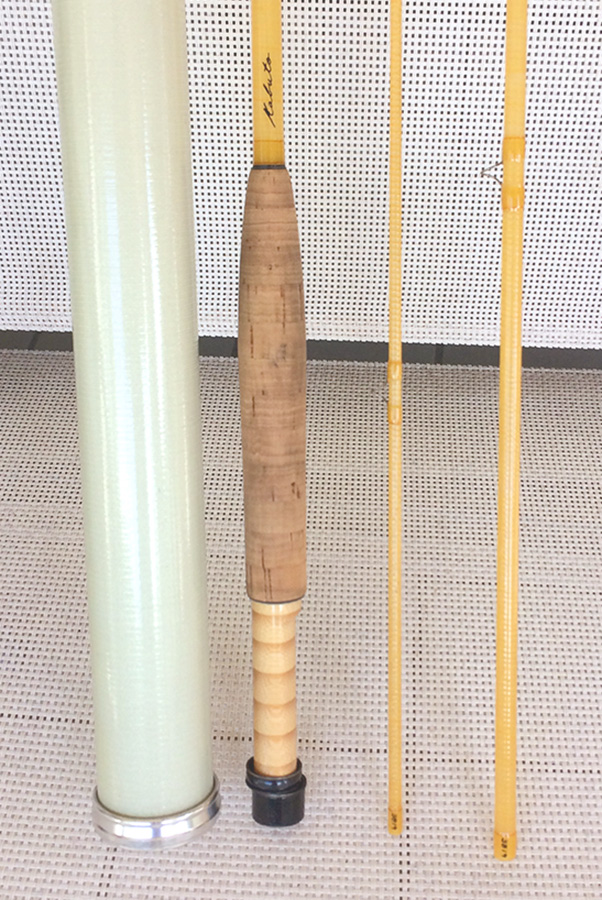
A Kabuto Fly Rod