Part One: In this two-part post we’ll take a look at the “skeg” sold by Diablo Paddlesports. You can view this item on their website. http://www.diablopaddlesports.com/store.accessories
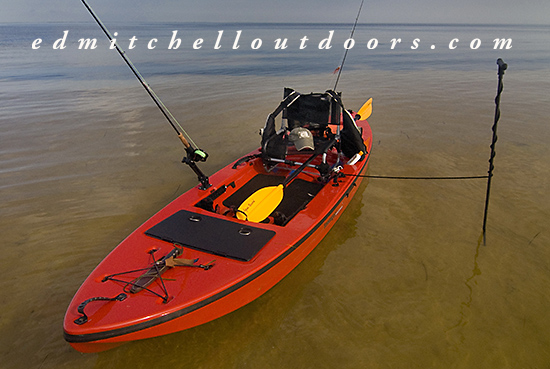
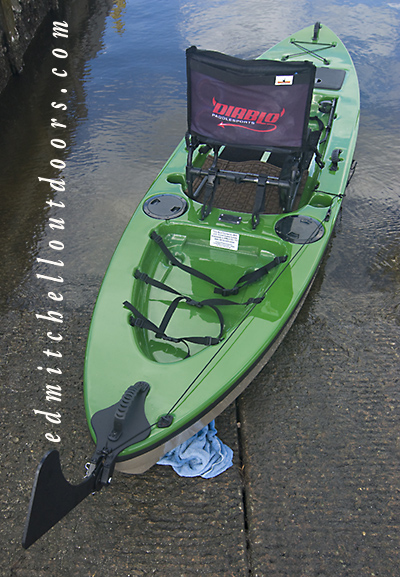
Why installed a “skeg” on your Adios? When you’re seated, the Adios “tracks” fine. When you stand, to paddle or pole, your weight shifts forward, causing the Adios to nose slightly downward. Now “tracking” can be an issue, especially in a crosswind. Tech types would prefer I said the Adios tends to “weathercock”. They would also insist this is not really a “tracking” issue, but a “trim” problem. Ok, Ok. Call it a “trim” problem; call it a “tracking” problem; call it what you like; the “skeg” is there to keep the Adios on course.
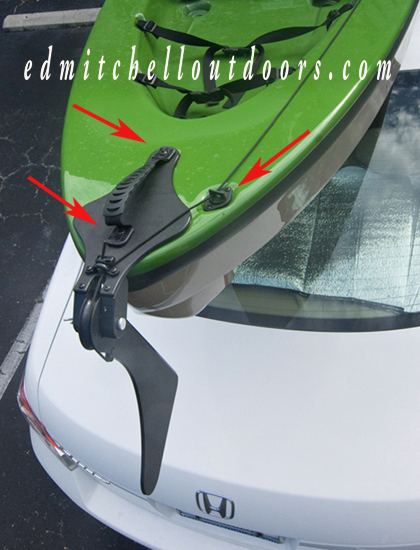
Diablo has a “YouTube” video showing this installation. It’s a straight-forward job. So I’m going to be brief. In this photo the two arrows on the left show how the “skeg” plate bolts under the rear (stern) handle. Two 1”long ¼” bolts are supplied for this task. The right arrow shows that I elected to run the long bungee through the hole in the drain plug cap. It seemed a convenient thing to do.
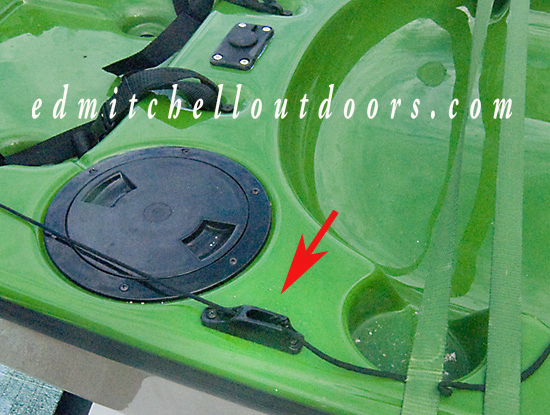
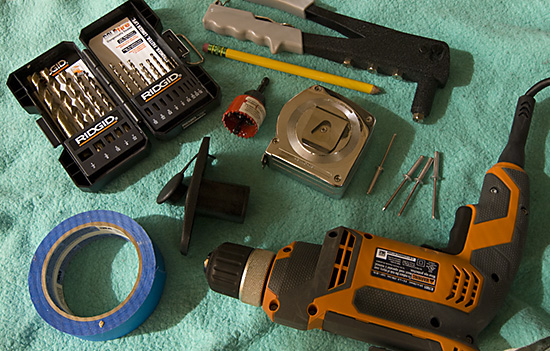
In the last photo, you see a good position for the clam cleat. This locates it in easy reach of the Larry Chair. You’ll need to drill two 5/32” holes for the bolts. Insert the bolts, then remove the rear hatch cover, reach under and put the nuts on. A small socket drive is a real help. I used a 9mm, six-sided socket. It held the nuts securely, while I tighten things up with a Philips head screwdriver. The entire “skeg” installation took 30 minutes.









I love your kayak. Any thoughts on the Amigo?
Chris,
Unfortunately I have not seen or used one. So I can’t comment. Sorry
Cheers
Ed