Back from Martha’s Vineyard

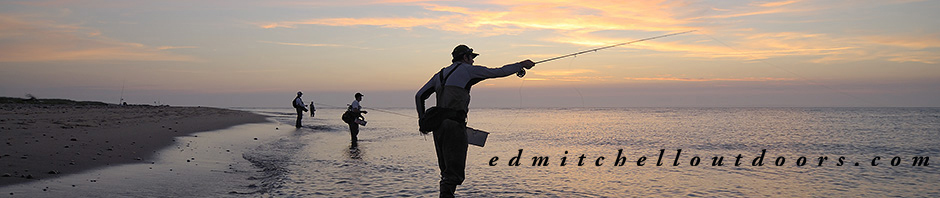
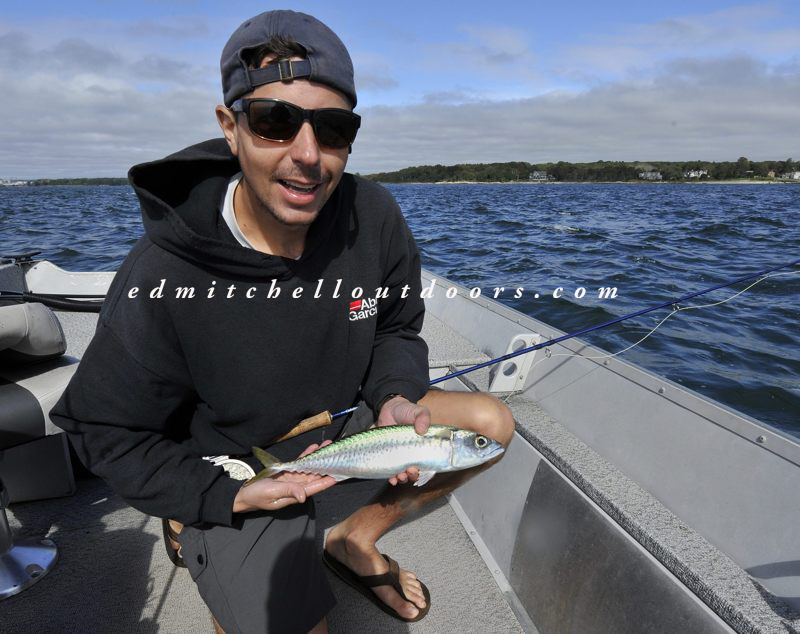
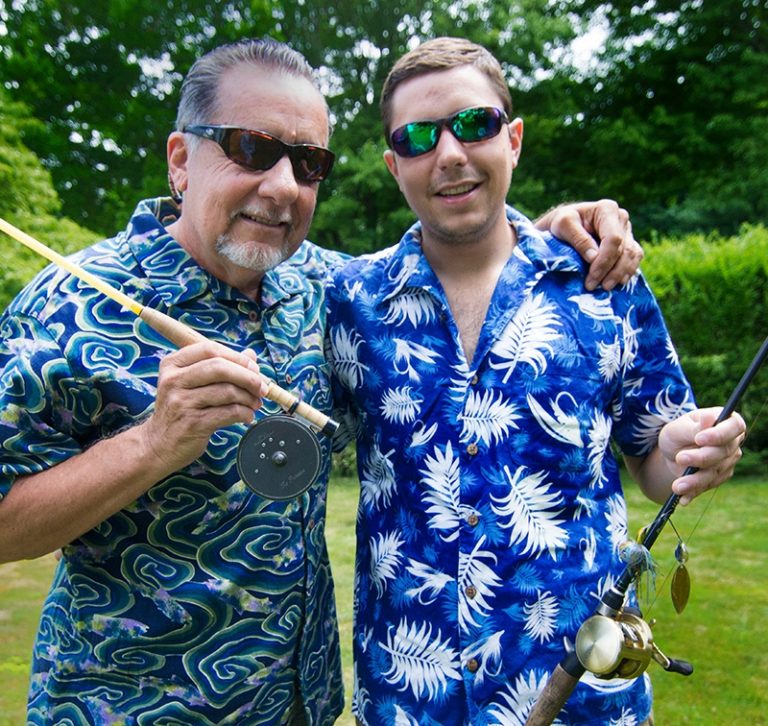
My son and I just returned from a stay on Martha’s Vineyard. Yeah, this is Derby time on the Island. Which as you may know draws hardcore anglers from far and wide. During the Derby I’ve seen license plates from many states along the Atlantic, including New York, New Jersey, Pennsylvania, and Maryland. The Derby’s fabled history, the legendary fishing, and a chance to win a big prize all figure into the mix.

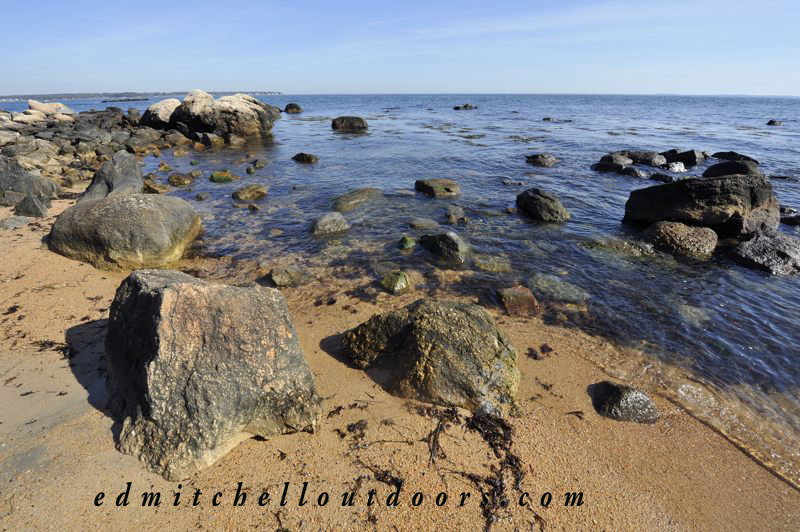
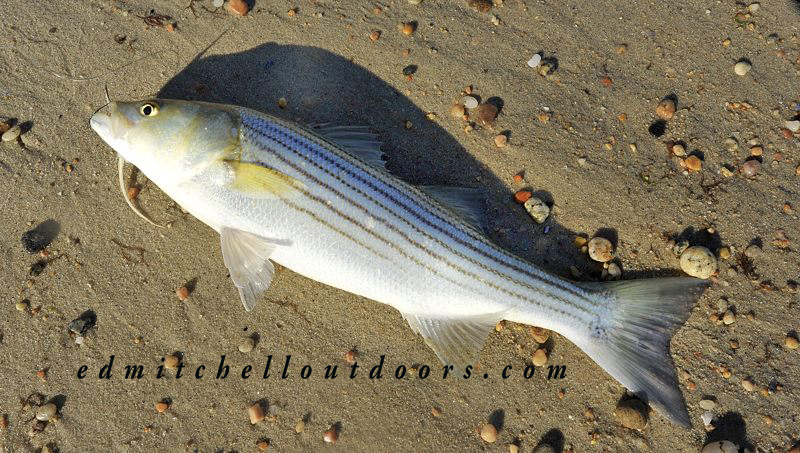
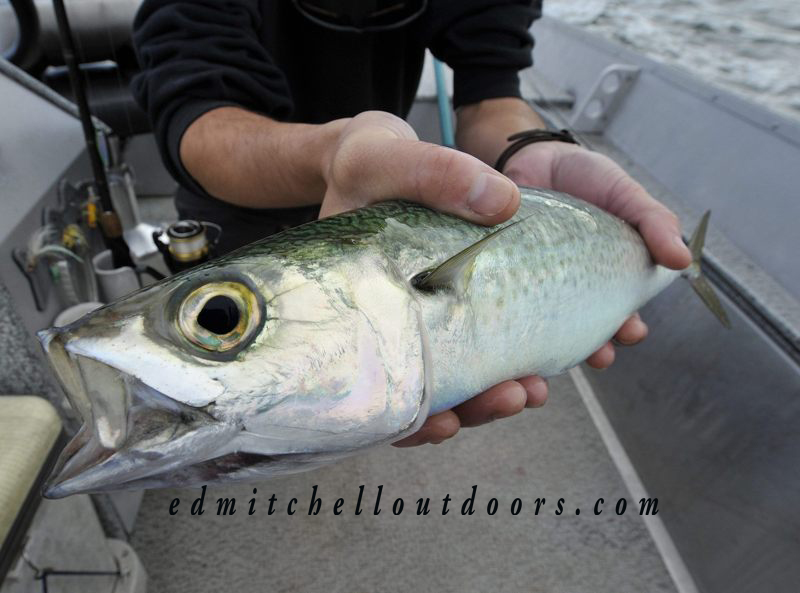
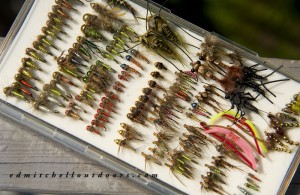
We came prepared with fly rods, reels, fly lines, you name it. And of course, a mountain of flies, some left over from last year’s poor fishing. Mother nature did her part supplying stellar fall weather. Man, it was gorgeous, blue bird skies, dry and cool. Plenty of bait in the wash too. Peanut bunker, sand eels, silversides. And we were there on the moon and the autumnal equinox, So, the stage was set, but the fish never showed up. Yes, you heard right; the fish weren’t there. Damn. During our time on the beach, I never witnessed a single hookup.
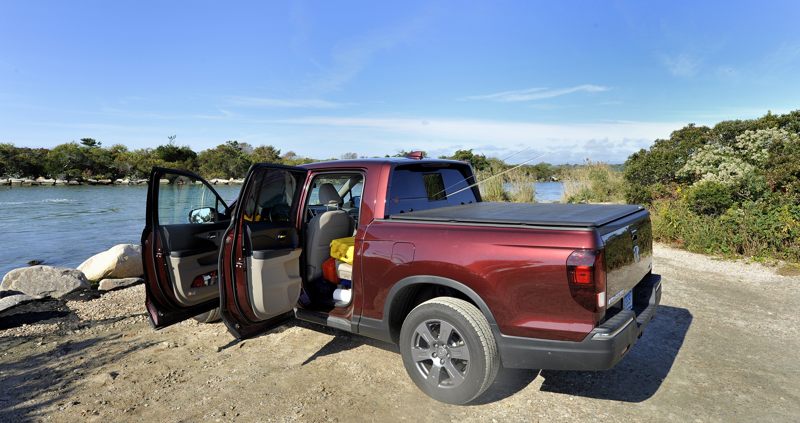
It was an island-wide problem too. From Chappaquiddick to Gay Head, anglers were shaking their heads. Derby weigh ins were a fraction of normal. But the diehards never quit casting. I heard one angler in the last week had put in 95 hours casting from the tip of the jetty! Yeah, hope springs eternal, especially for the young Turks. And the parking lot was full everyday with the same trucks. No one was giving an inch.
On my last day there, I spoke with a fly angler who had fishing the Martha’s Vineyard Derby for over 20 years and won the grand prize once, walking away with a brand-new pickup truck. He told me this happens sometimes – for no apparent reason the fish vanish. They could return in a tide, a day, or a week. You just can’t tell. One just has to grin and bear it. Oh well, as always, fishing is wishing.
PS: Just heard that the fishing has returned!