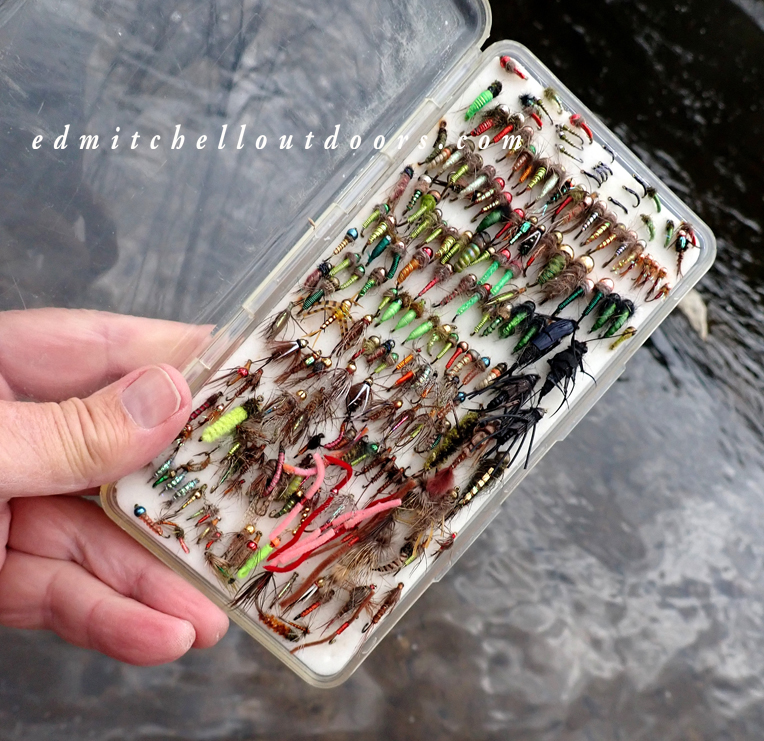
 Ringneck pheasant tail is one of those material you should always have on hand. Great for nymphs and pupa. Well a few days back I went digging through my fly tying mountain of materials to find some and came up empty handed. Ugh. That send me searching the internet to remedy the situation.
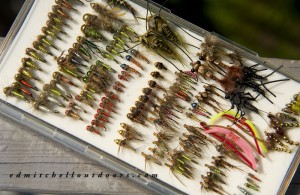
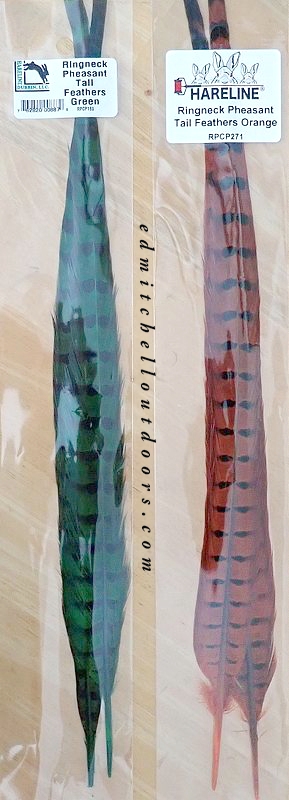
While there I came across something I hadn’t seen before -Hareline Dyed Ringneck Pheasant feathers. Ummmm. Kinda nice. They were available in a 9 colors as well as natural. Black, green, orange, to name a few. And they come two feathers to a pack. I thought I would pick natural and green. J. Stockard Fly Fishing had a good price, so I shopped there. But natural was out of stock. So I took a chance on orange and green.
Overall I think these dyed pheasant tail fibers are a good idea. Happy with the colors. My only concern is that the fibers on the feathers I received were shorter that I would like. It made tying on size 12# a chore even on a Tiemco 2487 which has a short shank. I had you use two bunches of fibers to complete each fly. As a result I do not think the flies turned out are as neat as they could have been. Well, they are still going to catch fish.


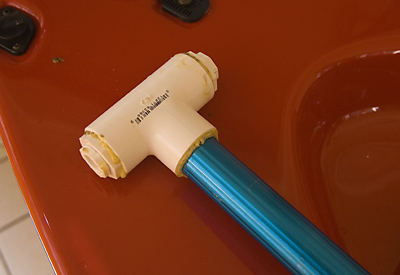
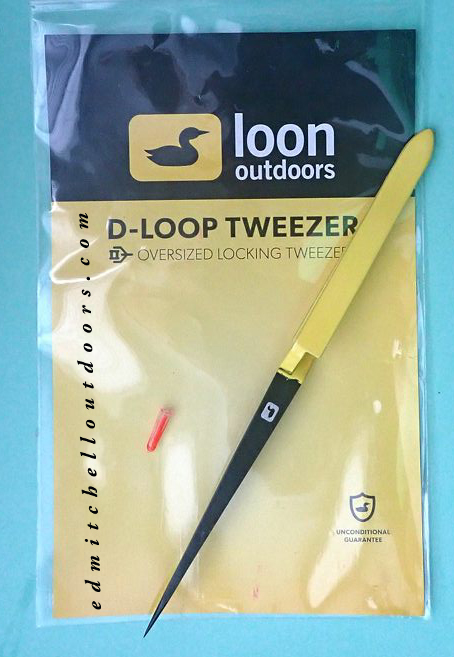 Got a new piece of fly tying gear – a D-Loop Tweezer. As the name implies this item is primarily intended to be a dubbing loop twister. My main use is different, however. I needed to pick up small hooks and tungsten beads. And then assist me in joining them together. It is not always an easy deal to accomplish. But this tweezer is proving a real help, especially with hooks smaller than size 14#. It was even able to pick a size 24! Wow.
 Yes, slotted tungsten beads make this whole process simpler. But I have a load of non-slotted beads on hand. And besides I bet slotted beads weigh less, and that is obviously counterproductive. You want the weight, right? Isn’t that the whole business of buying tungsten beads in the first place? Getting down.
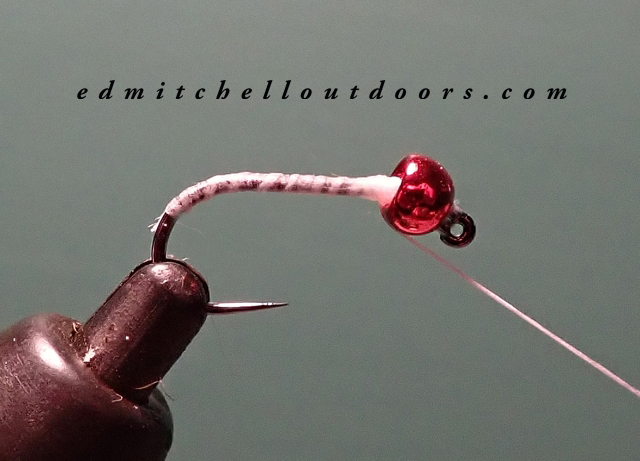
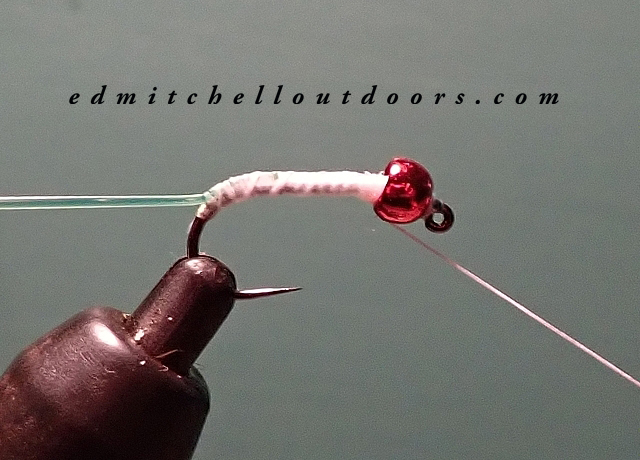
 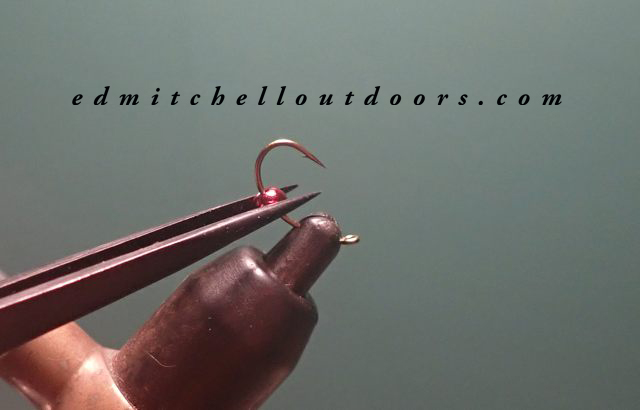 In the photos, I’m using a Tiemco 2487 in size 12. My bead is a red 3.25mm (1/8″) tungsten. Hooks in size 10,12, and 14 went smoothly. And I got down to a size 16 hook and a 2mm bead, without a ton of trouble.