Rescuing a 1987 17′ Aquasport: Part 2

Rescuing a 1987 17′ Aquasport: Part Two

Things are underway and the first step is power-washing off the years of dirt and grime. Believe there is a shit load of it. Black water was gushing out the scuppers and the bilge. But minute by minute the boat began to reemerge.

Man this is a big project. Still I have no doubt my son has the focus and skill to do it. And I bet it is going to look and run great. Even so, this vintage Aquasport is unlikely to see the drink for at least a year. Yeah it is going require a lot of sweat equity.

Don’t expect me to post steadily on this rescue, but I will return to the project as important things develop.  If you’re a card carrying member of the Aquasport fan club, and I know there are plenty of you out there, I’m sure you’ll want to see how the structural issues are handled.  The deck, the transom, come to mind. And I think my son is apt to make some modifications to the original design. So check back now and then.

Posted in Gear, Uncategorized | Leave a comment

Rescuing a 1987 17′ Aquasport

My son has been jonesing to find a project boat. Something he could get for a song and rebuild. He had a line on three previous boats, but all three deals fell through. Oh well. That’s when my friend Phil mentioned a boat he has seen sitting in a yard for years. It was just down the road from his house. We had to take a look.

Well, this time the deal got done! It is a 1987 17′ Aquasport last registered about 10 years ago. Likely it has been parked uncovered and out in the elements ever since. Yeah time has taken a toll. The hull is full of leaves, rain water, and mold. Yes, the deck is spongy. So the stringers are shot. Inevitable. And the transom is lumpy and bulged. Obvious wet inside. Both will have to be taken out and replaced. But my son is ready and capable of doing it.

Thankfully the trailer was in decent shape. So we aired up the tires and drove the boat a mile to Phil’s house to do some emergency work. The trailer needed temporary lights installed and rewiring. Leaves and junk had to be removed. We had to get a taller tongue for the truck’s hitch. And at some point in the past the winch strap had snapped and been knotted. We secured that with a racket strap. A trip to the hardware store and an hour’s work got those things done. Then we were ready for a half-hour tow to my son’s home. Mission accomplished. Thanks Phil!

to his own

Posted in Gear, Uncategorized | Leave a comment

A Look at Strike Indicators: Part Three

A Look at Strike Indicators: Part Three

In this final post, we are goin to look at two variants -the “Release Indicator” and the “Hopper-Dropper”. I believe both were developed out West. 

Release Indicators

Release Indicators were created for trout fishing in lakes and ponds. In these situations trout are usually feeding deep, typically on chironomides. So the distance between your indicator and your fly may be 15 feet!  You cast out, let the fly sink and patiently wait for a strike. Hooking the fish may go well; landing the fish may not. If the indicator stays securely in place on the leader, you can’t reel the fish in close enough to net. Especially from a boat, which is the most common way lakes and ponds are fished. A “release indicator” remedies that. When you strike, this indicator releases its grip on the leader, and as you reel, it slides down to the fish. Bingo, you land your trout. Clever that. 

Hopper-Dropper

I don’t use the “Hopper-Dropper” tactic a lot, but I do enjoy it. You should too. The idea here is suspend a weighted nymph or wet fly off the bend of a high floating dry fly. In effect, the dry becomes your indicator. Grasshopper flies are one choice, hence the name, but many big dry flies work too. Foam Chernobyl Ants come to mind, as do large dries such as a Stimulator or Royal Wulff. To made up this rig, simply tie your wet fly of choice off the bend of the dry on a short piece of mono. Typically 18″ of 4x or 5x, does the trick. Cast it out. Now you’re simultaneously fishing both a dry and a wet! Cool. You gotta love it.  

Posted in Flies and Fly Tying, Fly Fishing in Freshwater | Leave a comment

A Look at Strike Indicators: Part Two

A Look at Strike Indicators: Part Two

This time around we’re going to discuss the two most popular strike indicators on the market . The “Thingamabobber “and the “Air-Lock”. Both work using the same basic approach – a hollow plastic sphere that floats. Both come in a range of sizes and colors. And both are reusable and never need floatant. Still there are “pros” and “cons” to a consider. Lets dive in.

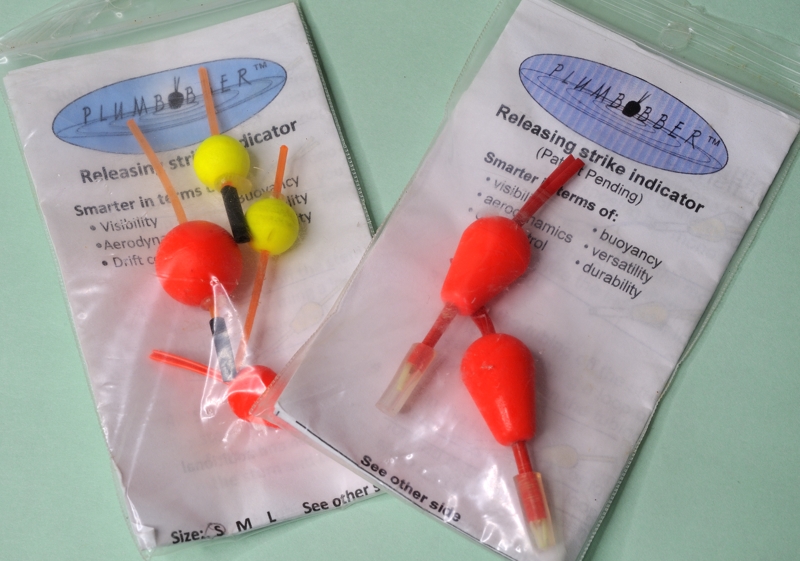
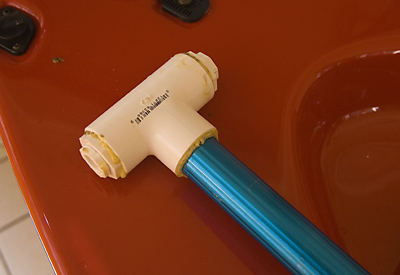
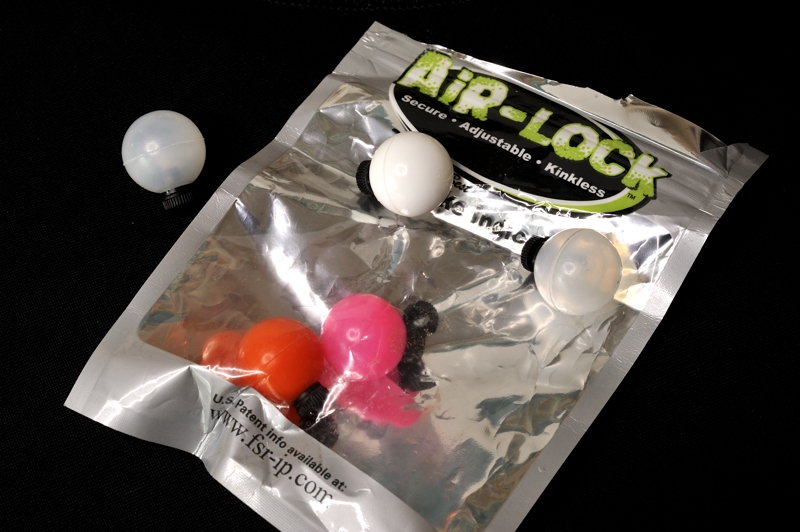
The   “Air-Lock’s” claim to fame is its unique way of attaching to the leader.  On top of the each sphere is a slotted thread. You place the leader in the slot and then, using a small supplied washer and nut, you tighten down. This snugs up the indicator to your leader, holds well, is quick to adjust, and never puts a kink in the leader. Wonderful stuff. Now for the rub. When working with cold, wet hands, it is easy to drop the small washer or nut in the stream. Ugh, I know from personal experience. Good luck finding them little critters or replacing them.  

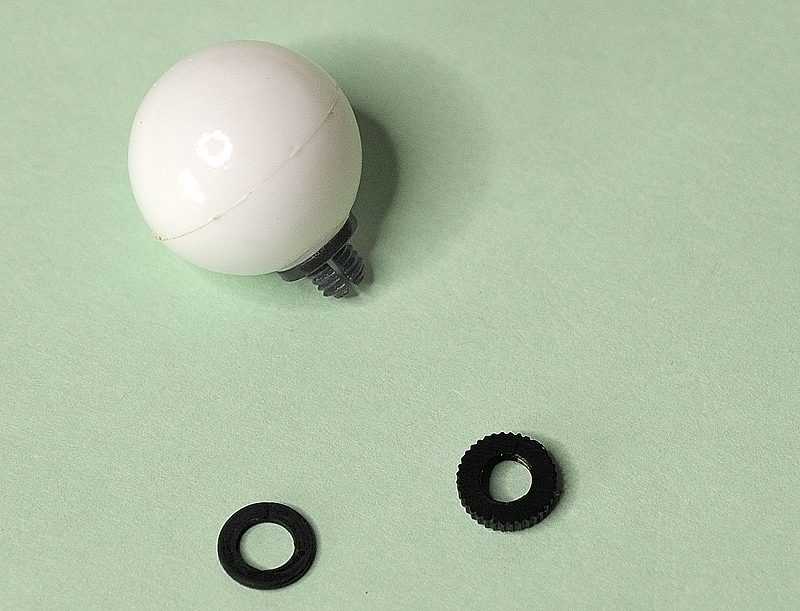
Slotted Thread System

Recently “Air-Lock” released a new version. It utilizes the same attachment method,  but now the sphere is made out of biodegradable foam. Good idea. If dropped on the stream it will degrade over time. Thoughtful touch. Unfortunately the cost shot up too. Ouch. I felt the original “Air-Lock” was a little pricey. The new one is even more so. Frankly, in my opinion  this going to greatly hurt sales.   


Thingamsbobbers

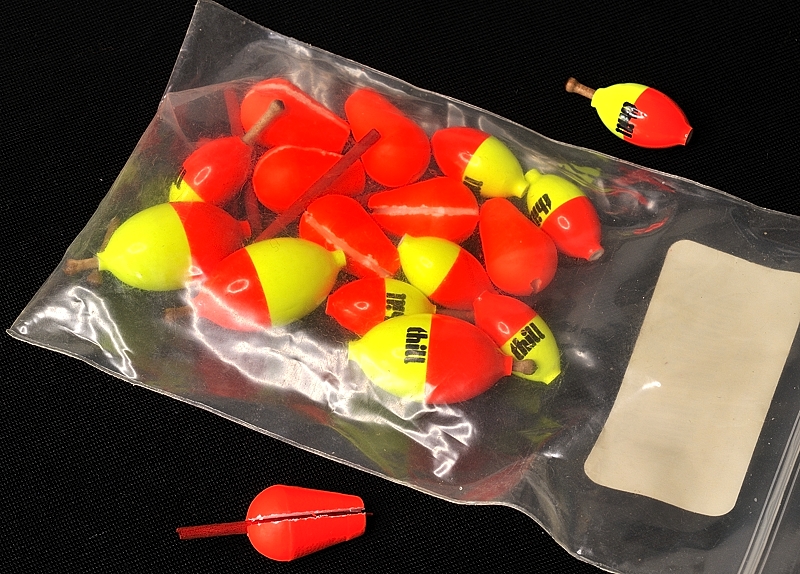
This brings us to the very popular “Thingamabobber”. Priced more reasonably. Simply loops on your leader. Works well, but is a bit of a nuisance to adjust up and down, and during the course of a day may kink the leader a hair. I always carry a leader straightener. It pretty much solves the issue. But a new version called the “jam-stop” comes with an attached peg that you may like better. Also note, there are several videos on YouTube offering tips on leader setups for the “Thingamabobber”, including using the Frog Hair Indicator Retainers. Check them out for more info.
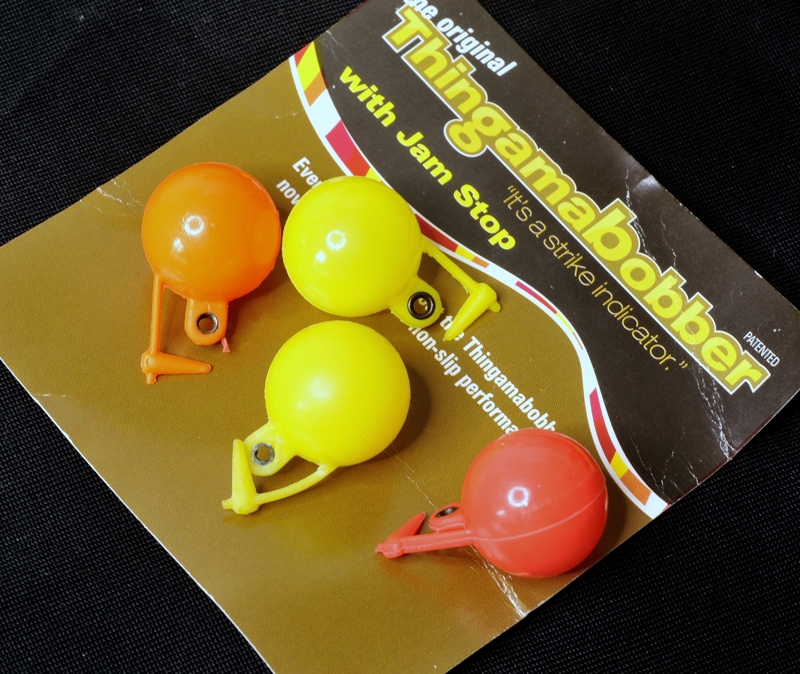
Jam-Stop


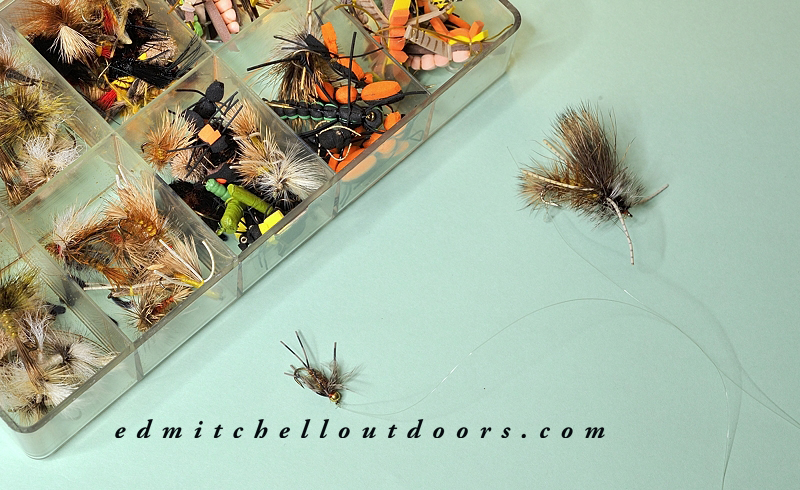
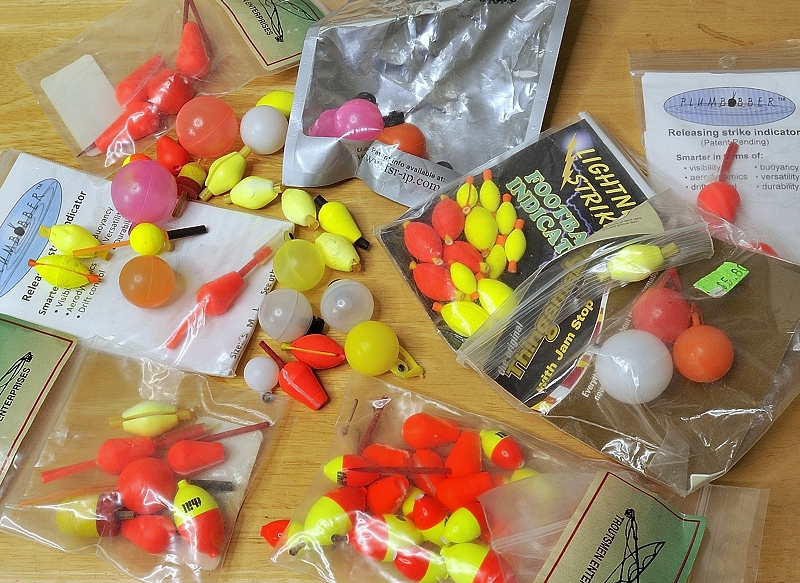
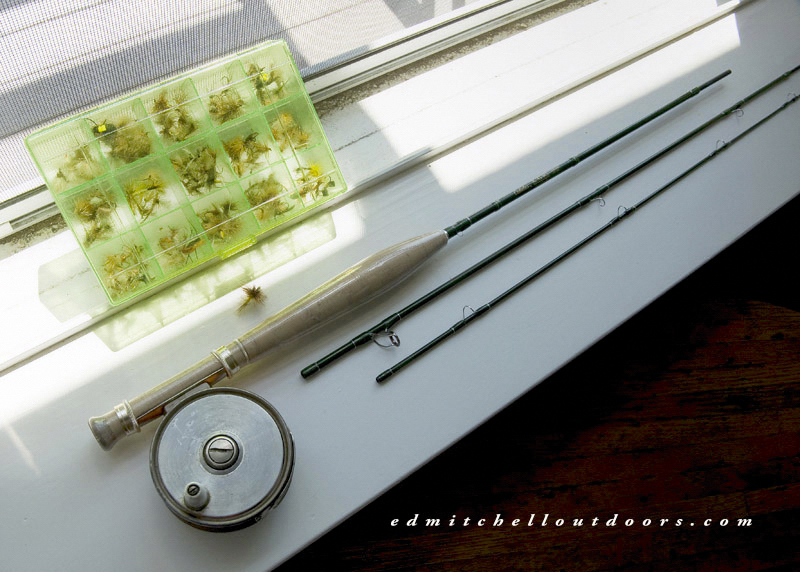
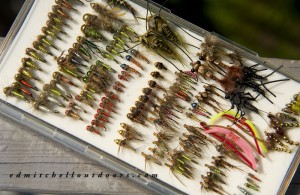
My streamside box with indicators and split shot

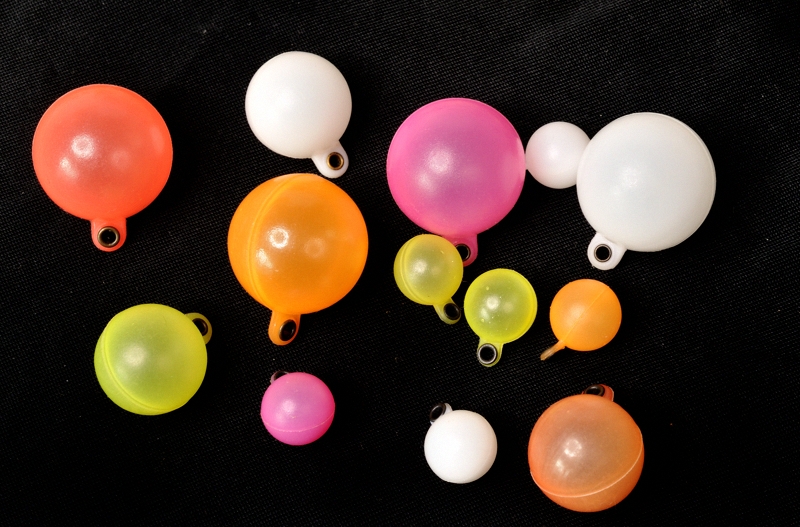
Overall, I think the “Thingamabobber” is the winner. But whether you pick it or the “Air-Lock” be sure to purchase a range of sizes. You’ll need then to properly support different size flies. But always use the smallest indicator that works. It will give you that best sensitivity to a strike.  Besides a selection of sizes, you should have a couple of colors to choose from. White indicators are fine but blend into foam lines making them hard to see, especially in low light. For that reason I use a marker to put some color stripes into them. Neon colors are easy to see, but some feel they may spook fish. I’ve seen times, however, when trout actually strike at a bright colored indicators. If that happens, consider removing the indicator, nymph and any split shot. Then tie on a bright colored dry fly such as yellow belly Stimulator or Hopper.  You may catch that fish. Okay, onward to part three.  


Posted in Fly Fishing in Freshwater, Gear | Leave a comment

A Look at Strike Indicators: Part One

A Look at Strike Indicators: Part One

Lets take a look at strike indictors. They are in widespread use, cheap, and very effective. They richly deserve a spot in your vest. Now I’m  going to limit our discussion to several popular types. These are the ones I have personal experience with. We’ll examine their “pros” and “cons” and perhaps get around to examining how-to rig them. Should be fun. But before we go any further, let’s tackle the 900 pound gorilla-in-the-room. Fly fishing purists love to bad-mouth indicators. Yes I agree, they have a right to their opinion, even though they’re flat ass wrong. May God save their wayward souls. Please ignore them. Onward.

So what makes for a good strike indicators? As I see it there are several factors to consider. One, it should be easy to put on the leader and take off. Two, it should be easy to adjust, slide up or down the leader (Stick-on foam dot are not) Three, it should not be difficult to cast. Four, it should not badly kink up your leader. Five, it should be sensitive to a strike. Six, it should not need floatant to stay afloat. ( That eliminates Yarn indicators) And lastly, it should be reusable. (The stick-on foam dots fail here too) Lots to consider, actually.

Strike Indicators

Here’s a pile of strike indicators. Well, I’ve been using them for over a decade, and hence the collection. Is it the world’s largest? Hope not. The first kind of indicator I ever used were the cork-and-toothpick style. You don’t see them much anymore. Almost never. But they were inexpensive, worked reasonably well, came in different sizes, slid up and down your leader, and were reusable. Sometimes the toothpick would tangle your leader, however. Or the toothpick would snap off.  And with most of them you had to remove the fly to put the indicator on or take it off. I’ll give them a “C-“. 

Toothpick Style Indicators

The next style I used were the football shaped strike indicators. Initially sold as the “Fish Pimp” suddenly they became all the rage. Everyone had them. Easy to put on, easy to move up or down, and reusable. But they were a flop for one big reason. Without warning they could fly off your leader during the cast. Read fatal failure. Many a day I lost one or two. Or saw loose ones float by me, lost by anglers upstream. I’ll give them a solid “F”.

Foam Football Indicator

Okay onward. In part two we’ll hit “Thingamabobbers” and “Air Lock” strike indicators. And perhaps in part three we can discuss “release indicators” and the “hopper-dropper” rig.

Posted in Fly Fishing in Freshwater, Gear | Leave a comment