Inexpensive Kayak Push Pole
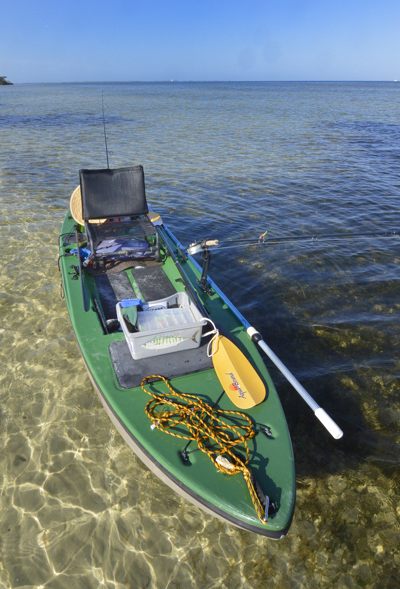
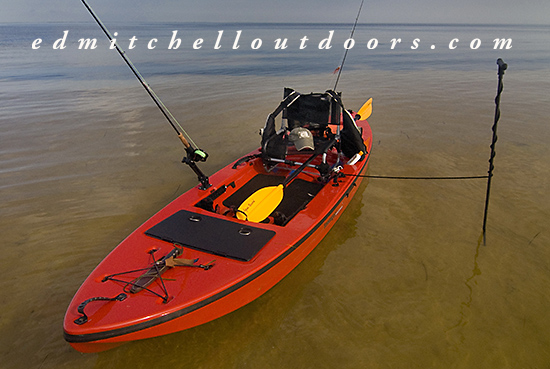
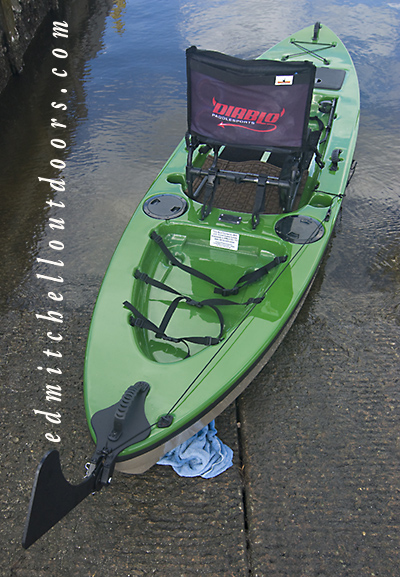
How to make a inexpensive kayak push pole. Man, I’ve been wanting a kayak push pole to help me sneak up on reds. So I did a DIY push pole. You can see it in the photo to the left. Its blue and on the near side of the kayak.
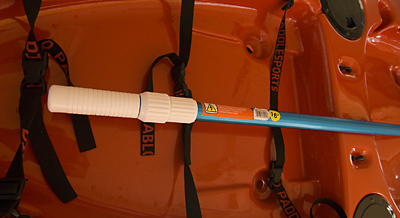
Now I could have used a simple length of PVC, but I wanted something a bit better without putting a hole in my wallet. At Home Depot I found a lightweight aluminum pool pole, intended to be used around a swimming pool.. It was adjustable from 8 to 16 feet in length, and cost a whopping 23 dollars. Perfect!
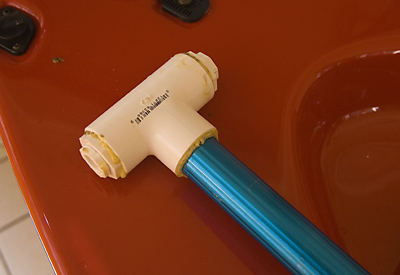
The shaft has a good handle on one end, but was open on the other so I need to make a foot to fit. I headed over to plumbing and picked up a 1″ PVC “T”. Two reducing bushing that stepped down to 1/2″ thread, and two 1/2 threaded plugs. Total cost for all parts around 27 buckeroos. Took it all home and Gorilla glued it together. There you go a good DIY kayak push pole.
Used it today for the first time. Nice! Not very heavy. Plenty stiff enough for kayak use. And the adjustable length proved handy during my day on the water. Does the pole float? You bet. How durable is it? Time will tell my friend.
Update: After several days use I have found a glitch. When the pole is extended beyond 8 feet, care should be taken not to apply heavy pressure to the upper section or it may slip. The remedy is simple. Always begin a “push” with your lower hand, the one around the thicker nonadjustable shaft. Or better yet begin your push with your hand around the white knuckle. Once the kayak starts to glide forward, additional light pressure can be applied to the thinner upper section. The other solution is to find the right length for your water and taped the the two sections together so they are solid.
Update: See January 2014 post










Pingback: William
William,
Glad you like the site. Perhaps I’ll look into the donate deal!
Ed