Fly Rods Ferrules – Things to Know: Nowadays two types of fly rod ferrules dominate the modern marketplace – the “tip-over-butt” ferrule, and the “spigot” ferrule, sometimes referred to as the “internal-spigot” ferrule. (The metal ferrules used for bamboo fly rods are not part of this discussion.)
Some History: Both the “tip-over-butt” ferrule and the “spigot “ferrule were born in California over 50 years ago. Credit for the “tip-over-butt” design goes to Jim Green, who developed it in the early 1960’s while working for Fenwick. Fenwick then patented it as the Feralite Ferrule in 1962. Their patent ran nearly 20 years. After that, the “tip-over-butt” design became a free-for-all. The origin of the “spigot” ferrules, however, is far less clear. The only mention of their source comes to us from the late Tom Morgan, one time owner of the Winston Rod Company. In an interview Tom says the best he could discover the “spigot” ferrule was created by John Tarantino (A World Champion Fly Caster) in collaboration with the JK Fisher rod company. And rumor has it Tarantino and Fisher patented this ferrule. Not sure that is true. So we’ll have to leave it at that.
Given that both ferrules have survived this long you can be assured of two thing – When assembled correctly (more on that later) both work well, and neither one is so vastly superior it has run the other guy out of town. And by the way, it is good idea to occasionally clean ferrules of both types. Dirt and sand in or on a ferrule can cause problems.
“Tip-over-Butt” This style of ferrule is the most common. And it does require a bit less care and maintenance. As things wear the tip section creeps down over the butt making this ferrule somewhat self-adjusting. In its earliest days, this style ferrule tended to stiffen a rod. (sometimes to the manufactures liking) This was especially true if the manufacture added a reinforced sleeve on the female side of the ferrule, something rarely seen today. Advances in rod building methods have eliminated any need to strengthen this style ferrule with added bulk. And the rods are not necessarily stiffer than a “spigot” ferrule rod.
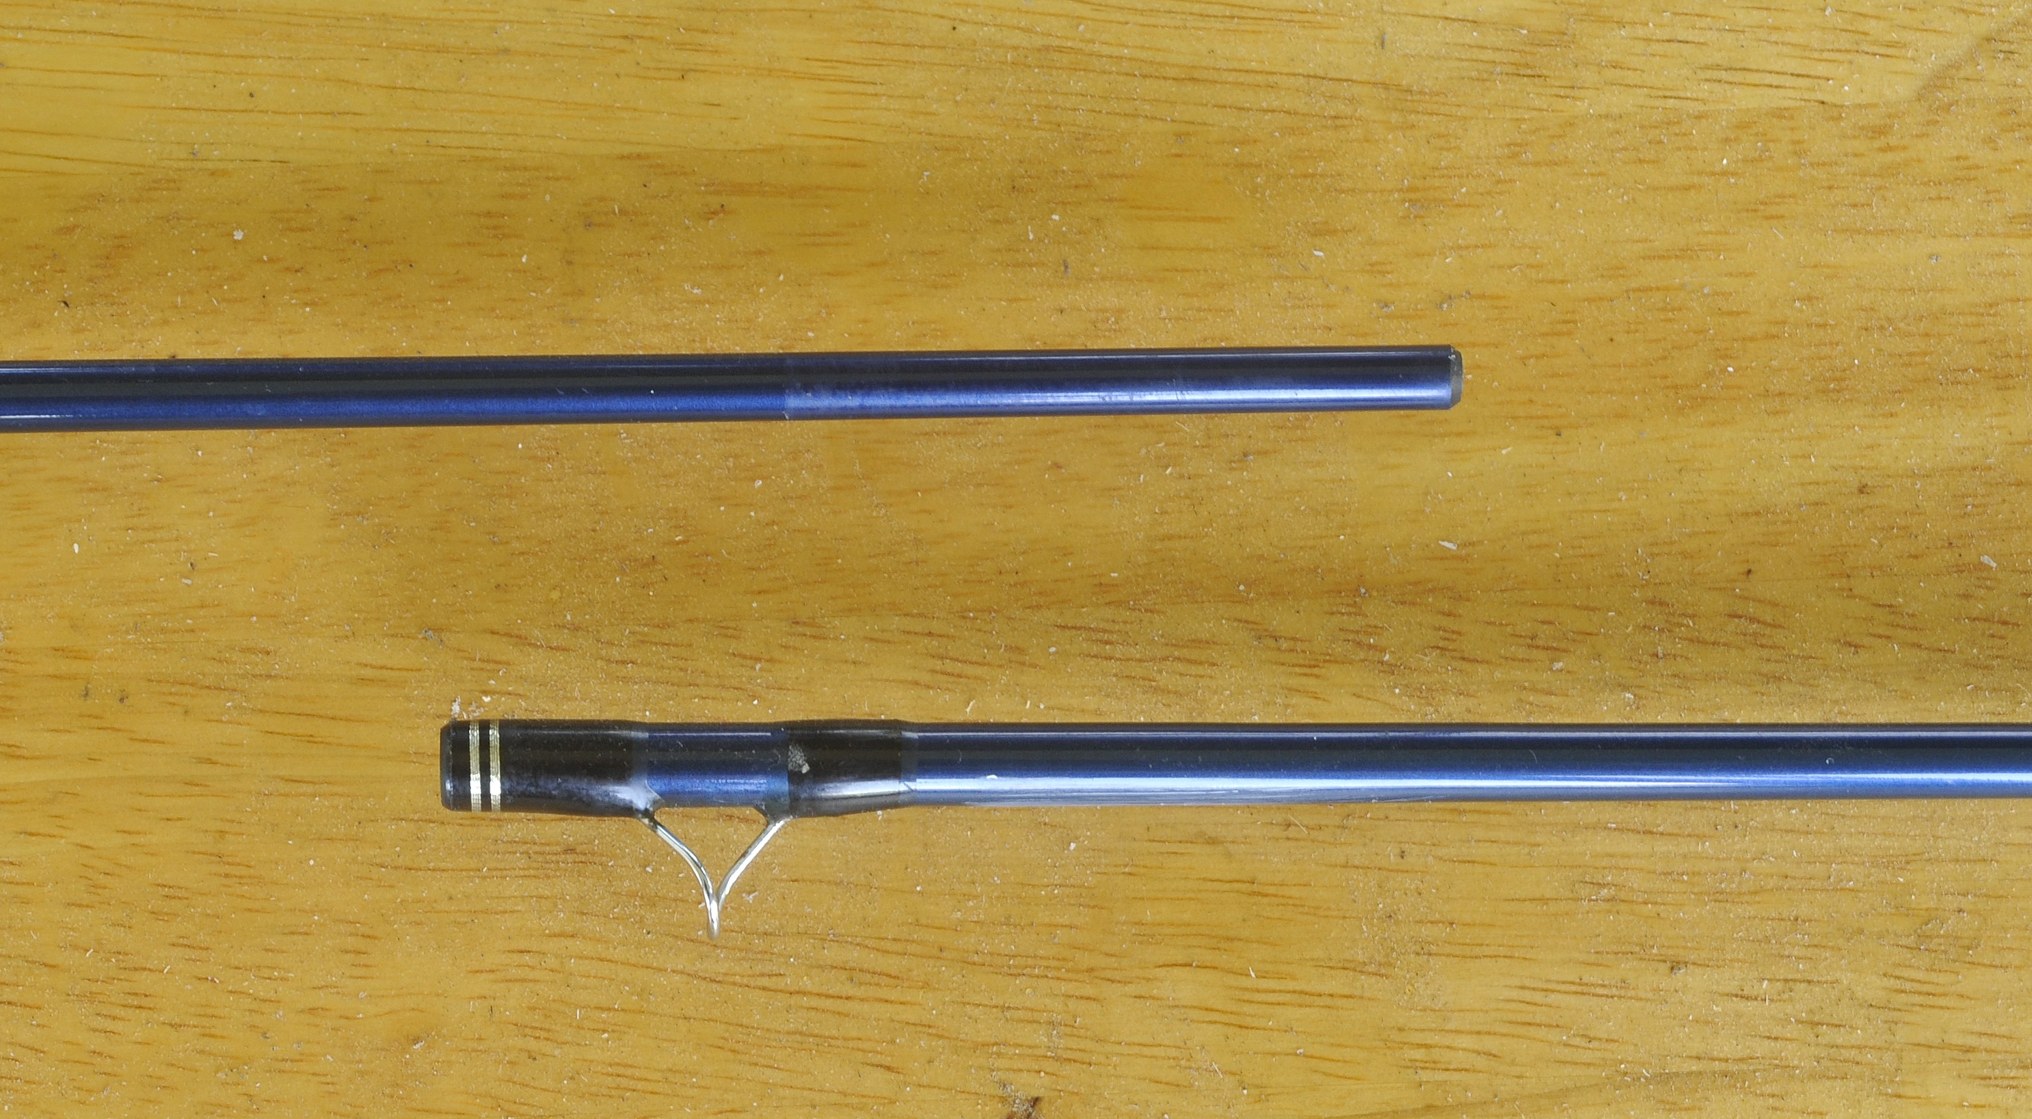
Tip-over-Butt Ferrule
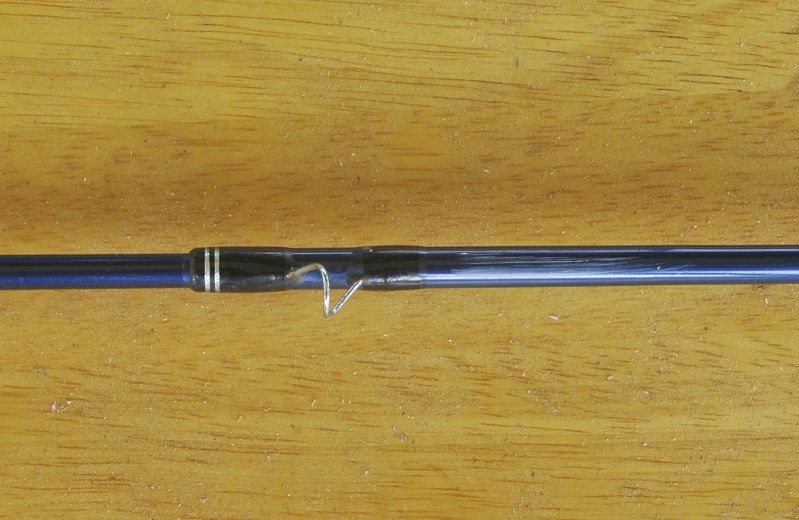
Tip-over-Butt Assembled
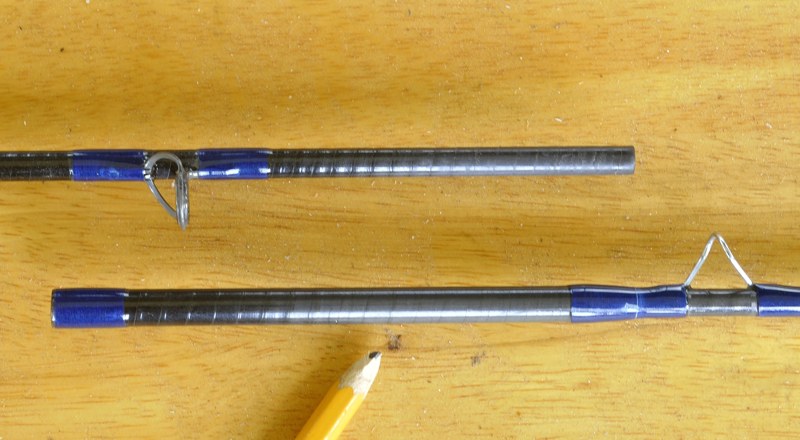
Tip-over-Butt with Reinforced Female Sleeve
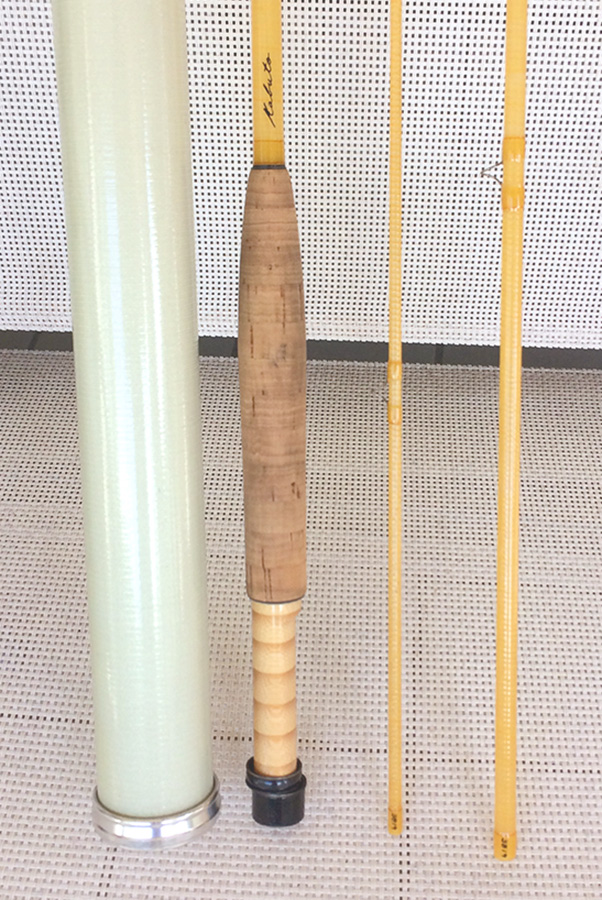
“Spigot Ferrule” This ferrule is a bit more of a mystery to anglers, especially those who have never used one. If you have never seen one, check out Scott Rods at your nearest shop. Two rod sections are joined with dowel (spigot) securely glued into the lower rod section. Typically the spigot is made of fiberglass. When properly assembled the two rod sections do not meet, but are separated by upwards of 1/2″. Advocates of this ferrule say it offers you a smoother rod action. In other words regardless of the number of sections, the action tends to flow seamlessly along the blank offering the feel of a one-piece rod blank. So why don’t we see more spigot ferrules in the marketplace? I bet it requires a more labor.
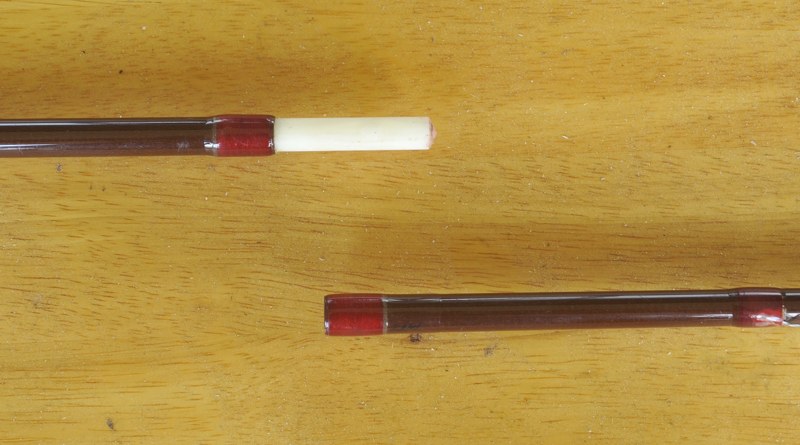
Spigot Ferrule
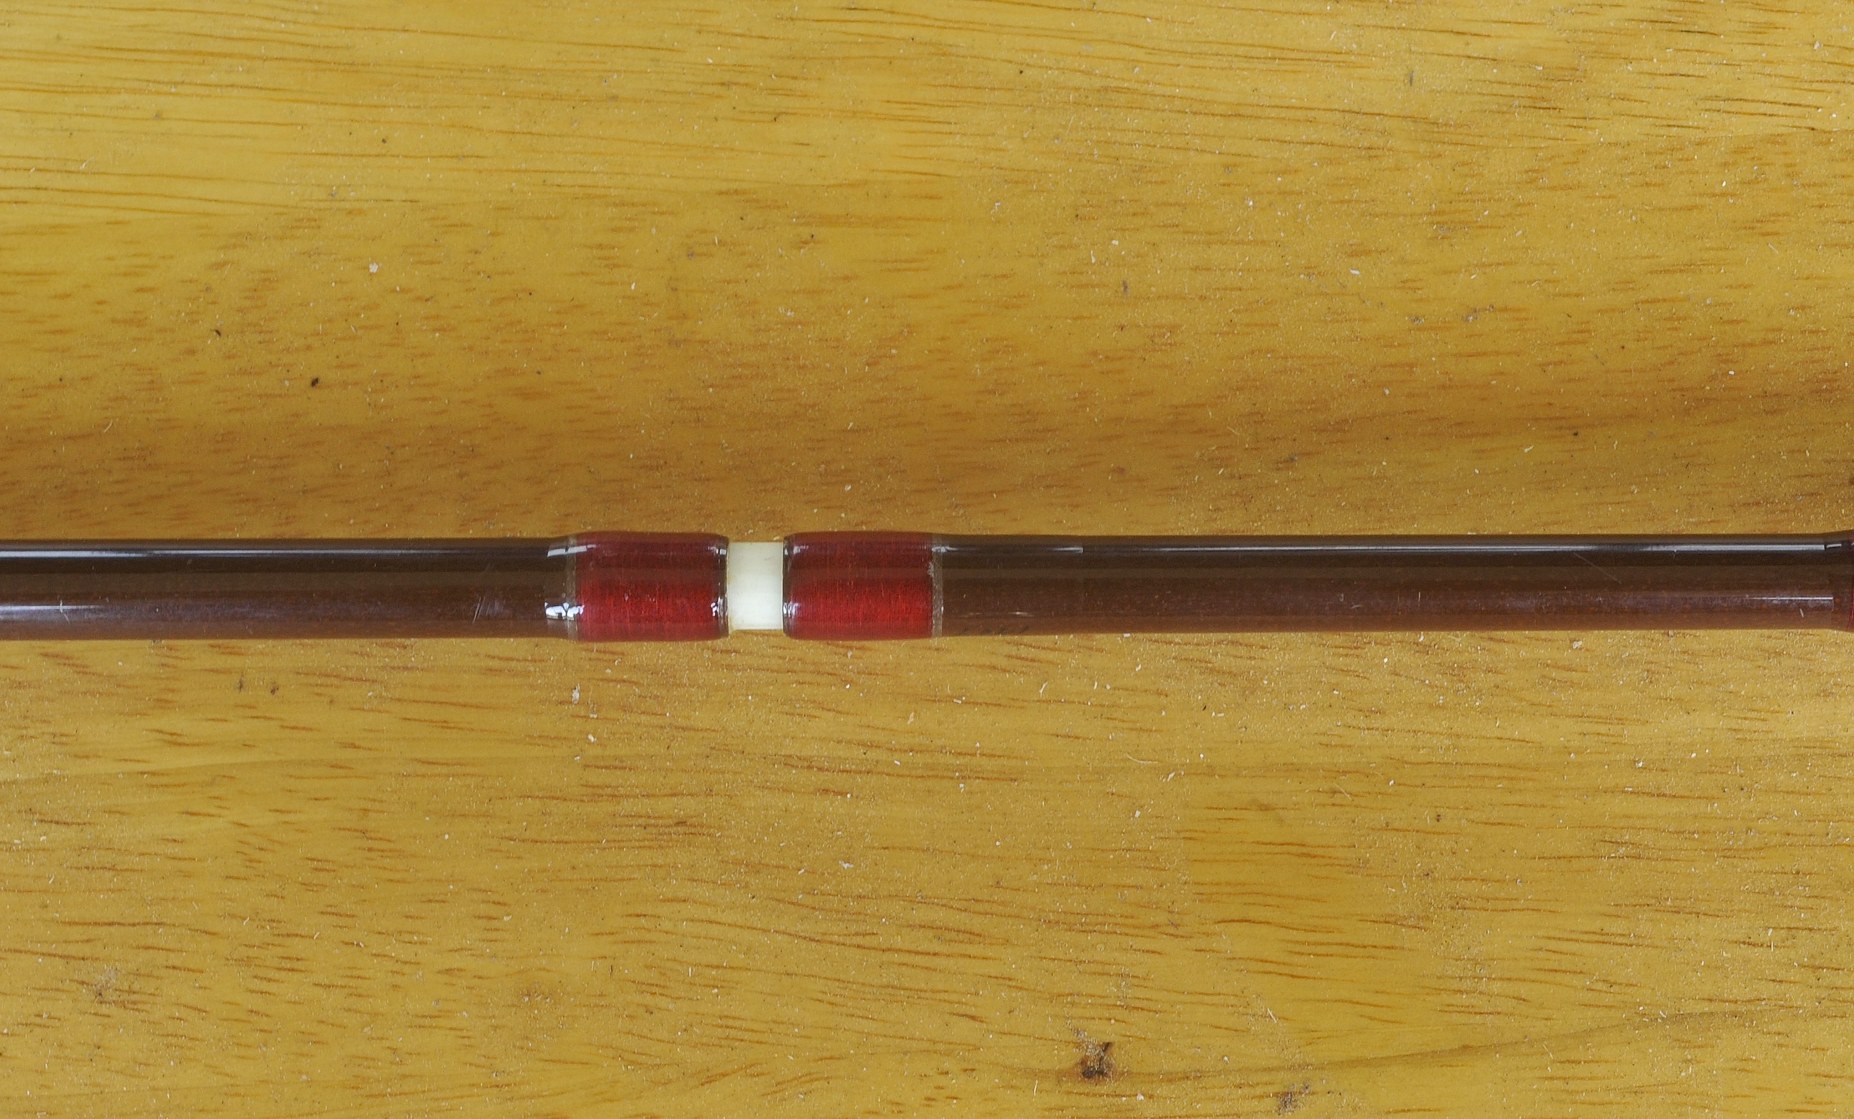
Spigot Ferrule Assembled
As a spigot ferrule wears the gap between sections is reduced. So it is self-adjusting as well. When the gap reaches 1/8″ , however, you may want to sent it back to the manufacturer to be tightened. (modern spigot ferrules wear very slowly and should be fine for ten or more years. By the way, tightening the ferrule is a simple job for any competent rod builder.) As a quick fix, a very thin coat of wax can be applied to the male spigot. (In fact some manufactures advise wax as a general preventive with even the tip-over-butt style ferrules. And I hear that cane rod experts use a touch of Ivory soap to lube their metal ferrules. ) It increases the spigot diameter and thereby increase the gap. (In my vest, I used to carry a small piece of a candle wrapped in aluminum foil. It worked fine if a problem arose in the field.)
Correctly Assembling these Ferrules: A surprising number of anglers fail to properly assemble a ferrule. You do not simple line up the guides on both sections and push the ferrule together. While this may work for awhile, sooner or later the two section will loosen during casting. This can cause the sections to fly apart or in a worse case scenario crack the blank.
The correct way is to align the two rod sections so the guides on one section are a quarter turn from lined up with the other section (90 degrees out)) Push the ferrule together and then slowly and gently twist the rod until the guides properly line up. (Never attempt this with a metal ferrule!) This small turn greatly aids in keeping the sections joined. And can be used with both ferrule types.
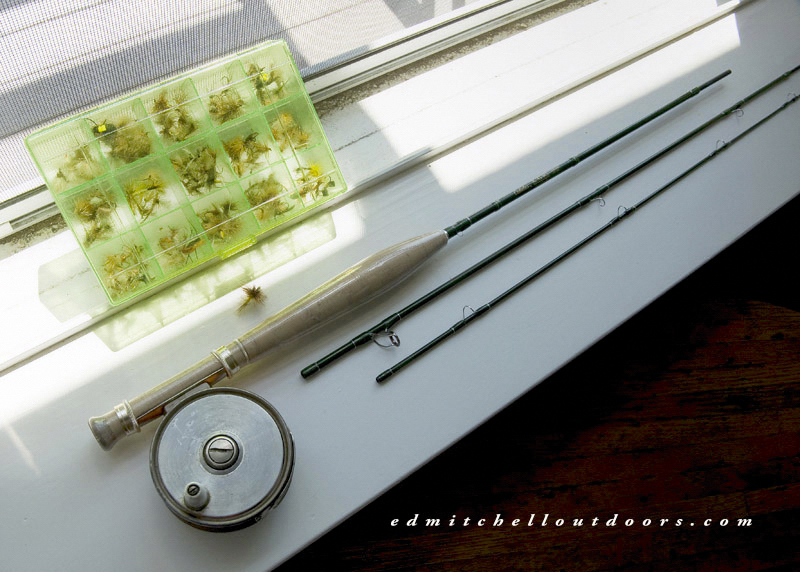
Number of Ferrules on a Rod: Once upon a time fly rods were pretty much all two-piece, with the exception being a few three-piece rods. Typically these three-piece rods were either cane rods or some high-end fiberglass rods. For example most of my Winston “glass” rods are three-piece. But times have changed. Now we have many four-piece rods. They are very convenient, although the upper most ferrule has a fairly thin diameter and may require more care.
Truth is I prefer the older three-piece design for two reasons. First there was never a ferrule in the dead center of the rod blank. So in my opinion the rod flexed better. Second, the upper ferrule was beefier and less prone to damage or wear. The only downside to the three-piece rod was this – while it fits overhead in most commercial jets, it could be too long for some very small single engine bush planes.
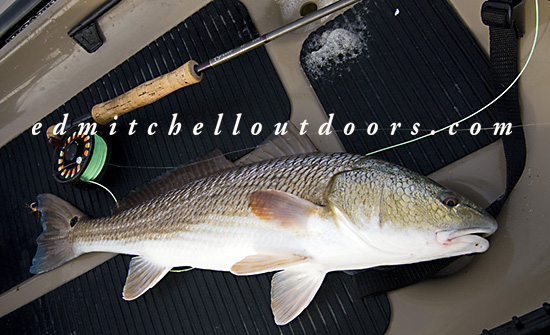
Fixing a Stuck Ferrule: Now for a word of warning. If a rod is left assembled for a prolonged period time, the ferrule may get stuck and refuse to let go. This is especially true of rods left out in the weather, such as in a boat. In my experience a “tip-over-butt” ferrules is far more prone than a “spigot” ferrule. Do not use brute force to separate the sections. Here is a better solution.
Hope I’ve answered any questions you had about the modern fly rod ferrule.











Good info. Never encountered a spigot set up’
Lefty Kreh advised rubbing paraffin/candle wax on the male section and gently screwing on the female section. I try to unscrew wit in the opposite direction when disassembling.
Once had two sections horribly stuck together. Tried icing the male section and heating the female section. Did not work.
What did work was to get a roll of electric tape. Wound half about an inch above the ferrule the half below. What this did was to give me more leverage. Ted
Hey Ted,
We are very fortunate to have should good ferrules nowadays, permitting fine multi-piece rods. My first fly rod was solid glass and had a metal ferrule that didn’t last long.
There are two other known methods of separating a stuck ferrule. In both cases, the trick is to draw the sections apart in a dead straight line, as any bend you make in the rod will only tighten the ferrule. One method involves placing the ferrule behind you about knee high, and then pulling with both hands. The other method requires two people and is more than I can describe here. Yes a small amount of wax is a help. But if you’re in the field and have none try this: rub the male ferrule alongside your nose. There is typically enough oil on your skin to assist the ferrule.
Good Evening, Ted!
Late to the game here, but I have just purchased a 2wt custom rod that has spigot ferrules, and I wanted to learn about them. Thanks for the great tutorial.
As to stuck ferrules, I did not know about the icing method; however, just the opposite has worked for me for many years. I take the ferrule of the stuck sections between the palms of my hands and quickly roll it to/fro as if I were trying to start a fire using the stick/drill method. It will warm up the ferrule quickly (and safely) and always comes apart with a normal twist/pull. And, as mentioned, beeswax works wonders on keeping ferrules in good shape.